
Building a Small PWA with Preact and Firebase
Read time: 29:33
Disclaimer: This is not a tutorial!
I have a ton of respect for the hard work that goes into using a project to teach the fundamentals of a technology. This isn’t that, it’s me sharing a process of learning by building something of my own.
If you’re looking for related tutorials, I learned from React for Beginners, Up and running with Preact, Firebase + React: Real-time, Serverless Web Apps, and Intro to Firebase and React.
In this post, I’m sharing how I did something, and it is currently at the “make it work” level. I’m 100% open to feedback on how to improve it, and I’ve taken extra steps in the process to make giving feedback easy. This doesn’t just help me, but also anyone who reads this in the future. If you know of a way to make it better, please leave a comment on the post or a commit, @ me, create a PR, or write up a reaction post.
Sections
- Intro (1:45)
- Getting Started (1:40)
- Adding Firebase for Auth (3:45)
- Preact Auth and Organization (5:23)
- Retrieving Data from Firebase (4:25)
- Saving Data to Firebase (5:44)
- Styling (1:45)
- Wrapping Up (1:44)
Post Goals
The goals for this post are to share what I’ve learned, try out some new features (for me) in a blog post. It seems like a long post sharing open-source code could benefit from a Table of Contents, read time indicators, and commit links (41 of em).
Project Goals
The goals of this project were: reading/writing/manipulating data, designing a mobile UI and learning Preact. Preact is overkill for the base functionality, but the CLI version has features that are very beneficial.
App Goals
I exercise because I greatly enjoy beer and food. I’m not that into it, but since I’m going to do it, I should follow a system created by people who are. I’m simplifying, but a handful of the systems tell you to set an initial weight, do a specific number of reps, and then raise the weight after 5 sessions of reps. (Some useful apps exist, like Strong Lifts, but I wanted a customized version.) Most importantly, I wanted a dead simple UI that makes it clear what weight or speed I need to set when I get to the machine.
Getting Started With a Project
Since this was an app being designed for a demographic of 1 person, research was limited. I knew what was missing for me in other apps, and the style that I wanted. I use Bear for project details, and this had requirements, inspiration images, and my best guess at the data structure.

To allow for continually working on my version, I’m sharing the steps as I recreate the app in a repo specifically for this post.
Initializing a Project with Preact CLI
I was inspired by Addy Osmani’s talk on Production PWAs with JS frameworks, in which he shares how the various CLIs added PWA support by default. Automated service worker setup alone makes this tool fantastic, but the feature list is insane for 4.5kb.
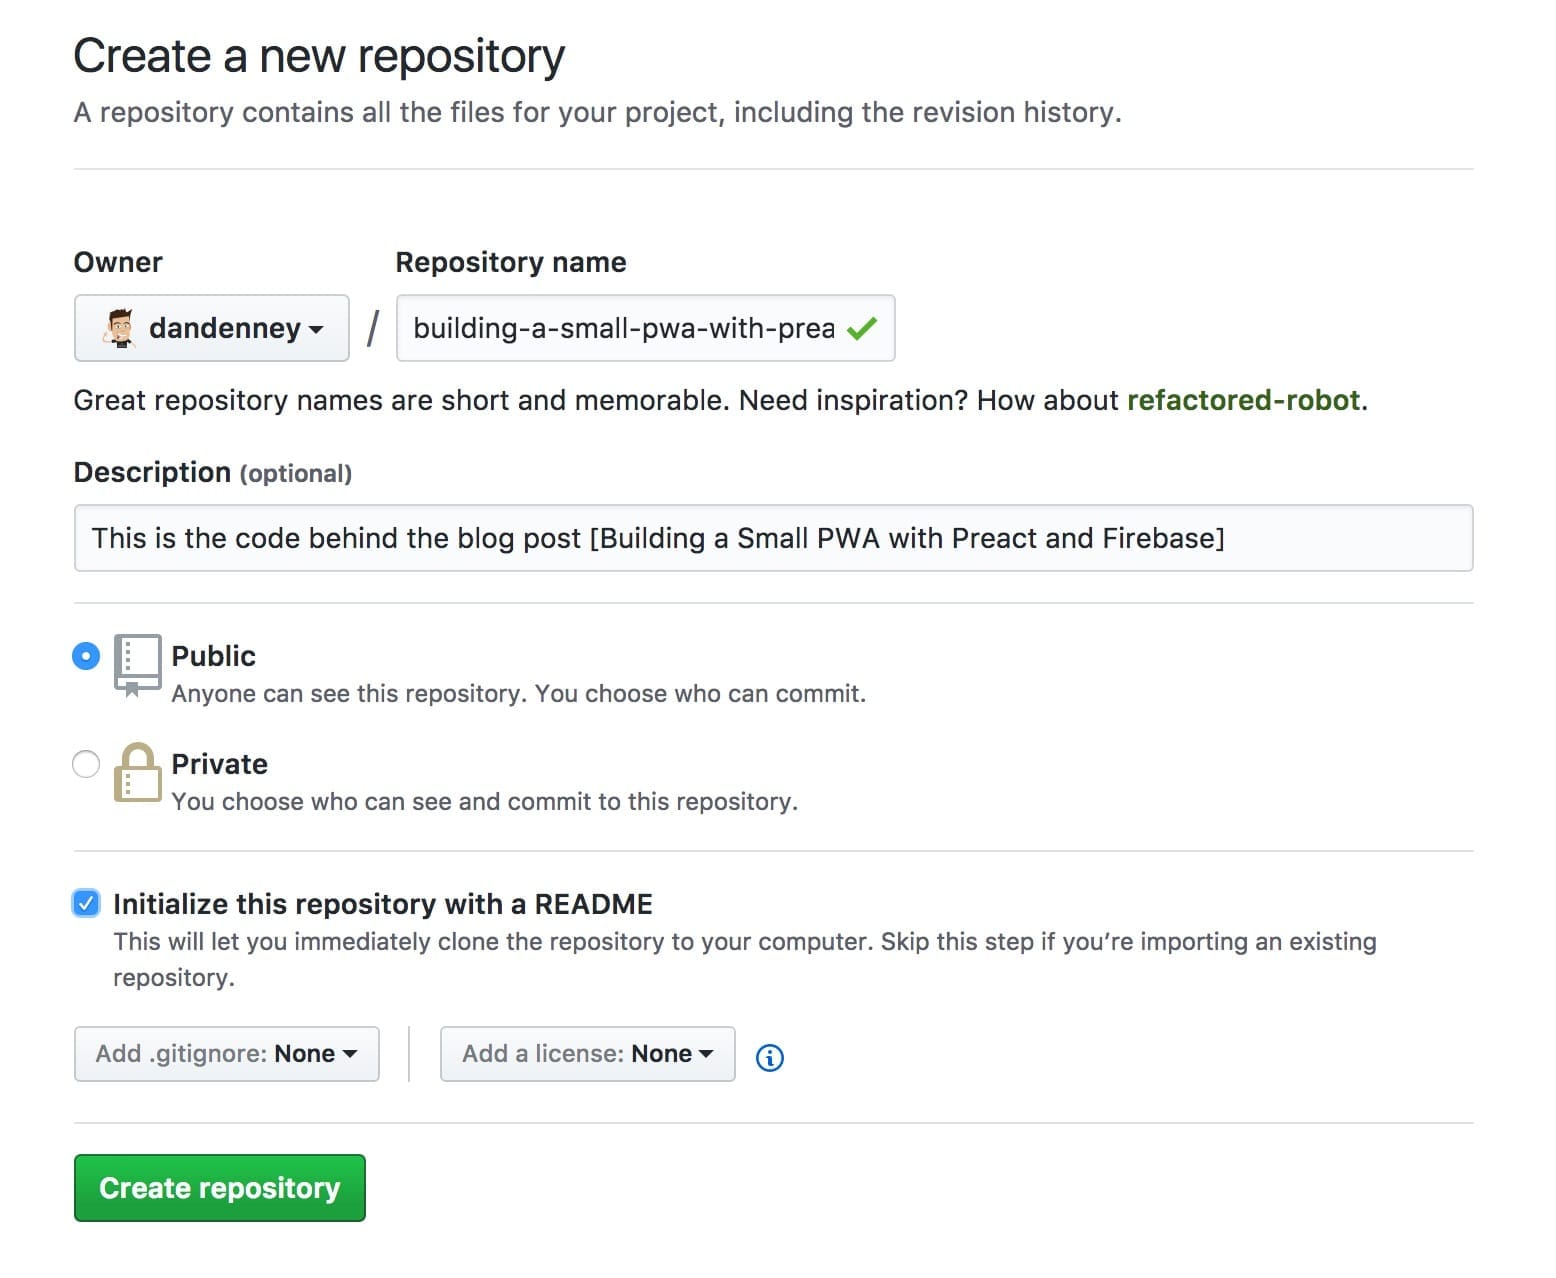
My first step is always creating a repo via GitHub’s UI. It’s a personal preference, but it adds a step when you’re using a generator. That’s still preferable to me vs. initializing from the command line after generating. commit
Sass support requires a flag, so after installing the CLI, I ran preact create app --sass and then dragged the files out to my main folder. commit
A known fixed issue
In my first build, the 1.3 version would enable Sass support but still generate .less files. In getting the link to the issue, I found that it was closed and fixed with 1.4, so I updated and regenerated. commit
It’s alive!
Running preact watch (or the command of your choice) fires up a server on 0.0.0.0:8080 and the starter app is visible.

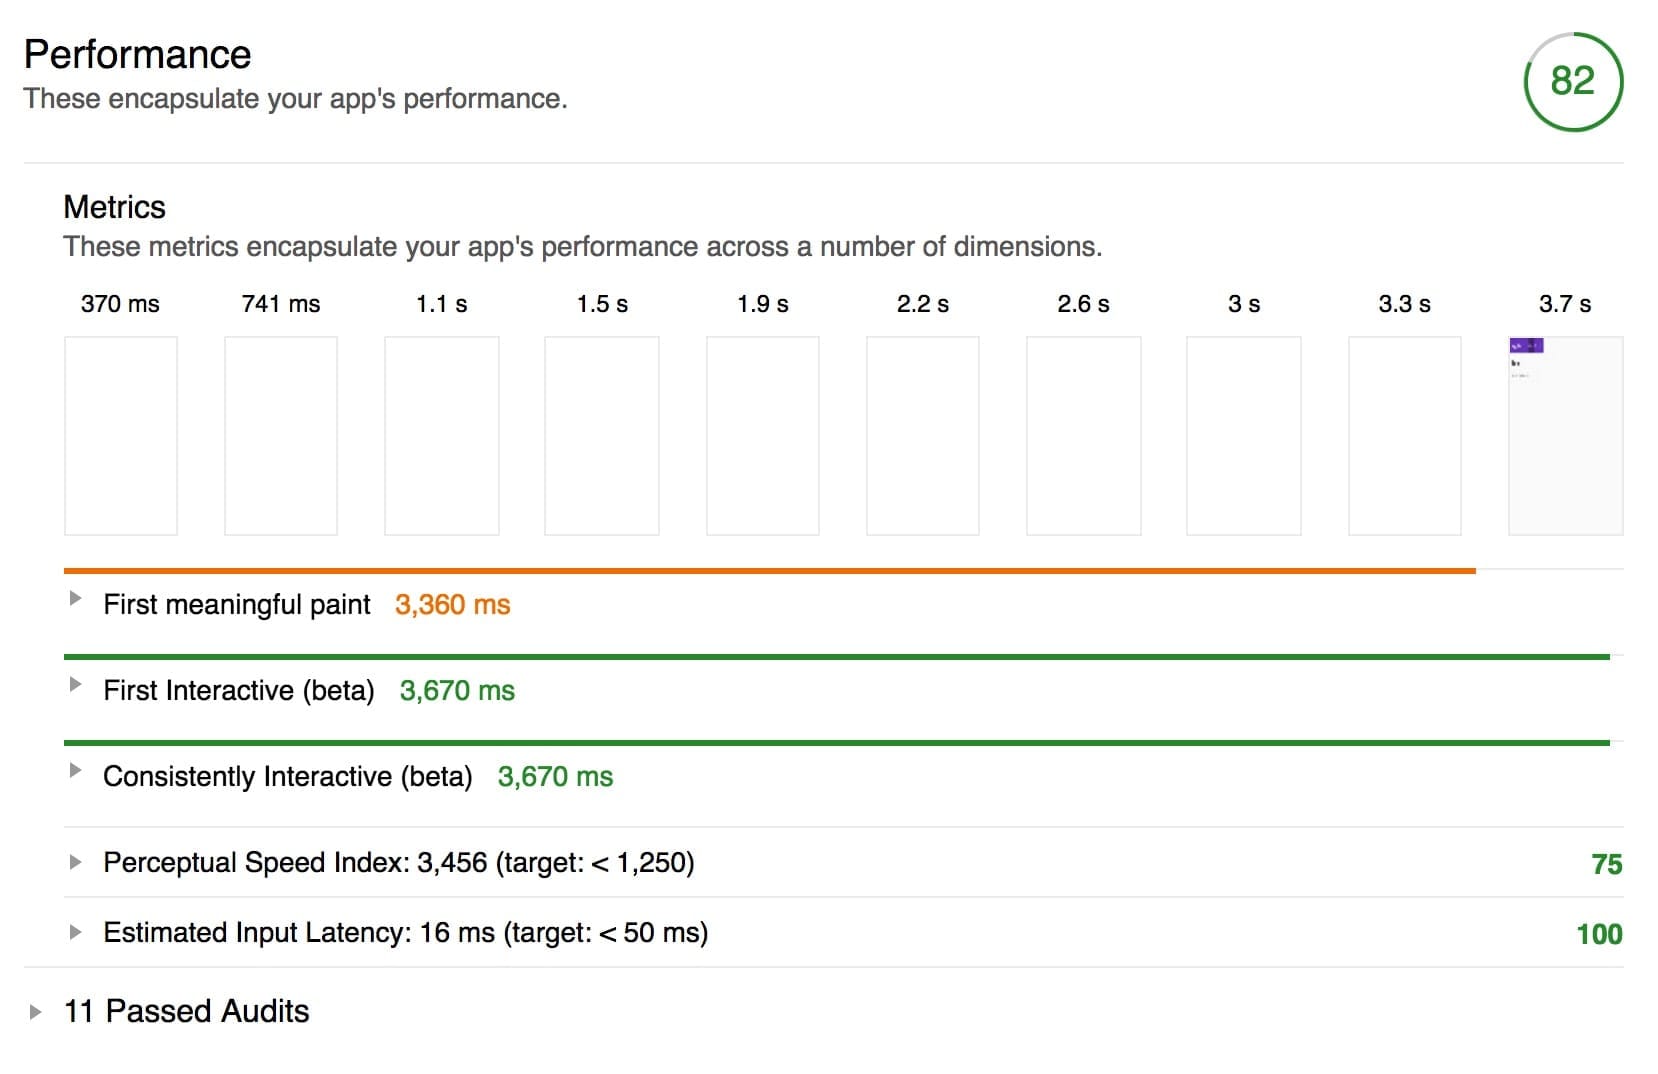
The out-of-the-box Lighthouse scores are fantastic. (Lighthouse is a tool for rating the code for a PWA. The service worker seems only to be enabled in production, so the PWA score is low locally, but 91 once you deploy. The important one to watch locally is Performance. Since Preact is so light, your code is what makes the difference. We’re starting off with 3.7s to a meaningful paint.
Adding Firebase
To get rolling with Firebase, I created a project “pwa-preact-firebase” (cause 30 character restriction) and grabbed the config info from “web setup” on the authentication page.
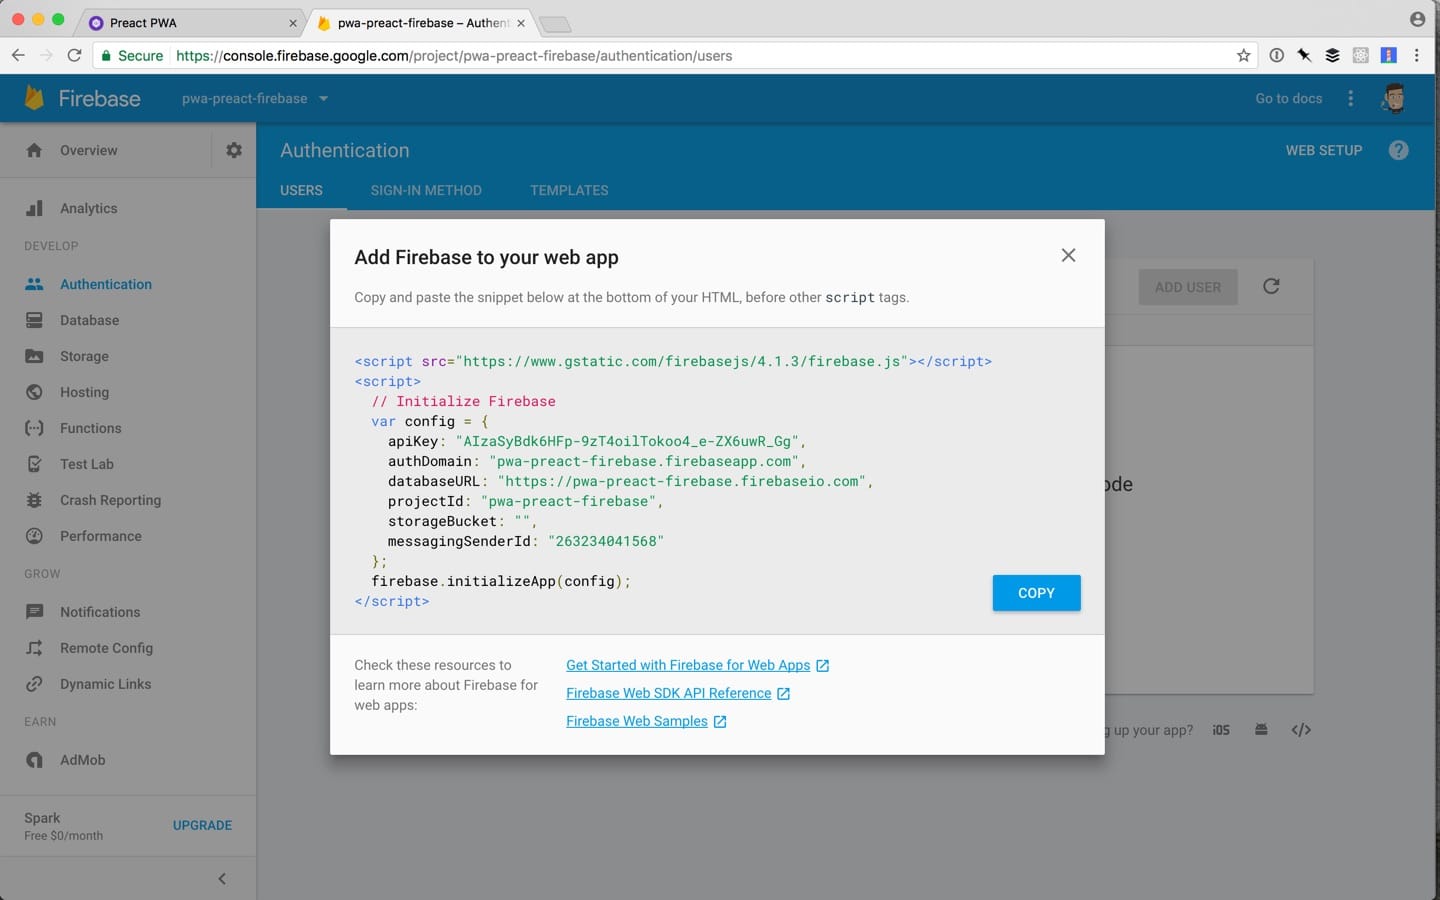
If you haven’t used Firebase, it will seem scary that I posted a screenshot of that information, but it’s available in the UI. Firebase handles security via permissions and many tutorials start by changing them to being wide open to get started. I’m skipping that because I know I want authed users.
Config
I learned this organization technique from Steve Kinney. The gist is that you install and include Firebase (commit), set the config, and then add named exports of the pieces that you want to use. commit
import firebase from "firebase";

const config = {
  apiKey: "AIzaSyBdk6HFp-9zT4oilTokoo4_e-ZX6uwR_Gg",
  authDomain: "pwa-preact-firebase.firebaseapp.com",
  databaseURL: "https://pwa-preact-firebase.firebaseio.com",
  projectId: "pwa-preact-firebase",
  storageBucket: "pwa-preact-firebase.appspot.com",
  messagingSenderId: "263234041568",
};

firebase.initializeApp(config);

export default firebase;

export const database = firebase.database();
export const auth = firebase.auth();
export const googleAuthProvider = new firebase.auth.GoogleAuthProvider();
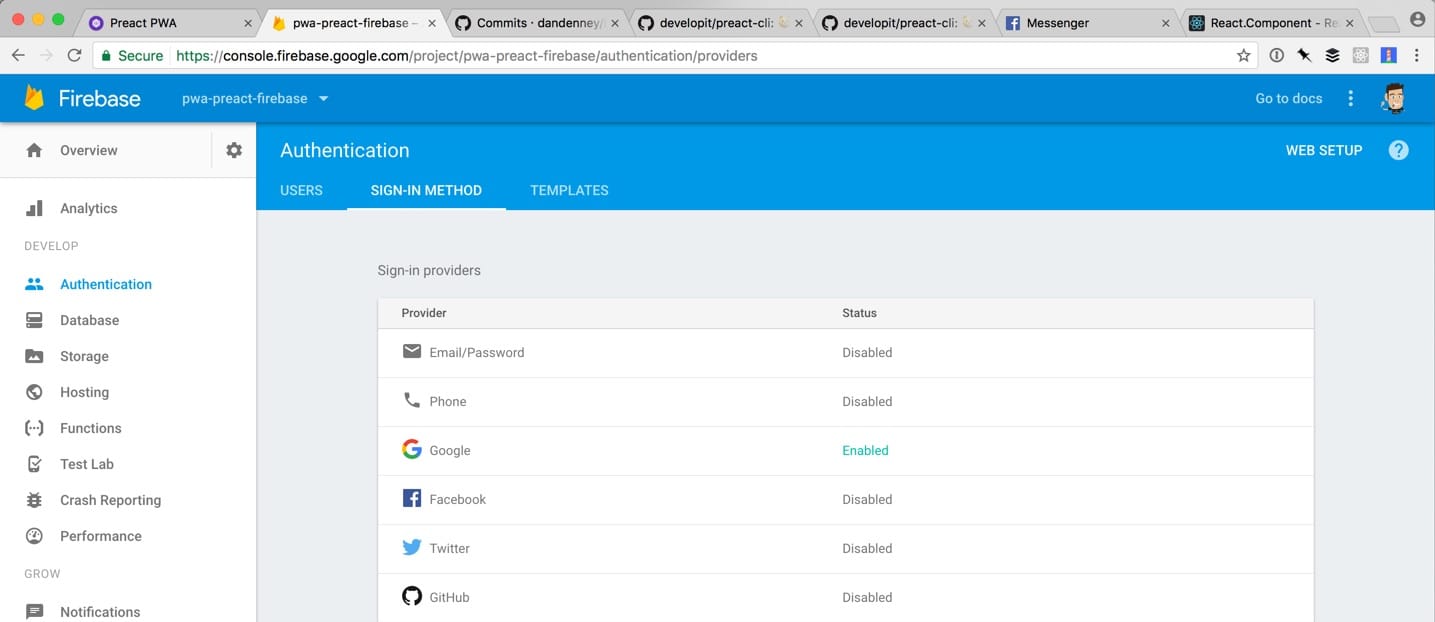
I’m only using Google Auth because it doesn’t require an API key and I’m always logged in on my phone. There are other options (Twitter, FB, email/password) as well.
With that configured, the methods in Firebase are available anywhere that you import them. The next part is the first decision as to where that is.
Questionable Organizational Decision
In my initial version, I put all of the code for the UI in the home folder (within routes) and kept firebase in the global components folder. This led to lengthy imports whenever I imported Firebase. I’m fixing that in this version by adding an ExercisesList component.
Since I knew that ExercisesList would have child components, I created a folder with an index, exported ExercisesList (with placeholder copy), and imported it into the home route. A bare minimum Preact component looks like this:
import { h, Component } from "preact";

export default class ExercisesList extends Component {
  render() {
    return (
      <section>
        <p>ExercisesList</p>
      </section>
    );
  }
}
And it’s imported like this (depending on its location)
import ExercisesList from "./img/posts/front-end-dev/building-a-small-pwa-with-preact-and-firebase/./img/posts/front-end-dev/building-a-small-pwa-with-preact-and-firebase/components/ExercisesList";You Shall Not Get Data
By default, no one can read or write to a Firebase database unless they are authed. One way of making sure that it’s installed and working is to use logic to toggle an auth UI or the content of a component.
In ExercisesList, I imported auth and database from Firebase. At that point I only needed auth, but I knew that the reason that I was using auth was to access the database, so I brought them both in at the same time.
import {
  auth,
  database,
} from "./img/posts/front-end-dev/building-a-small-pwa-with-preact-and-firebase/./img/posts/front-end-dev/building-a-small-pwa-with-preact-and-firebase/firebase";
I needed auth available for the logic, but there a few steps to “toggle” them based on auth status.
Creating Child Components
It’s a personal preference, but my workflow when I’m going to need new components is to start by making them, adding placeholder copy, and then import them. So, I added an Exercises component and a SignIn component.
A Simple SignIn
The only reason this app will exist is to track individual progress, so it’s intentionally useless if you’re not authed. To enable that, I imported auth and googleAuthProvider.
import { h, Component } from "preact";
import {
  auth,
  googleAuthProvider,
} from "./img/posts/front-end-dev/building-a-small-pwa-with-preact-and-firebase/firebase";

export default class SignIn extends Component {
  render() {
    return (
      <section>
        <h1>Raisercise</h1>
        <button onClick={() => auth.signInWithRedirect(googleAuthProvider)}>
          Sign In
        </button>
      </section>
    );
  }
}
For auth, this is where the magic happens: onClick={() => auth.signInWithRedirect(googleAuthProvider)}. signInWithRedirect is one of a few auth methods from Firebase and I’m passing the Google option. That’s all it takes for the transaction to happen, which is pretty amazing to me.
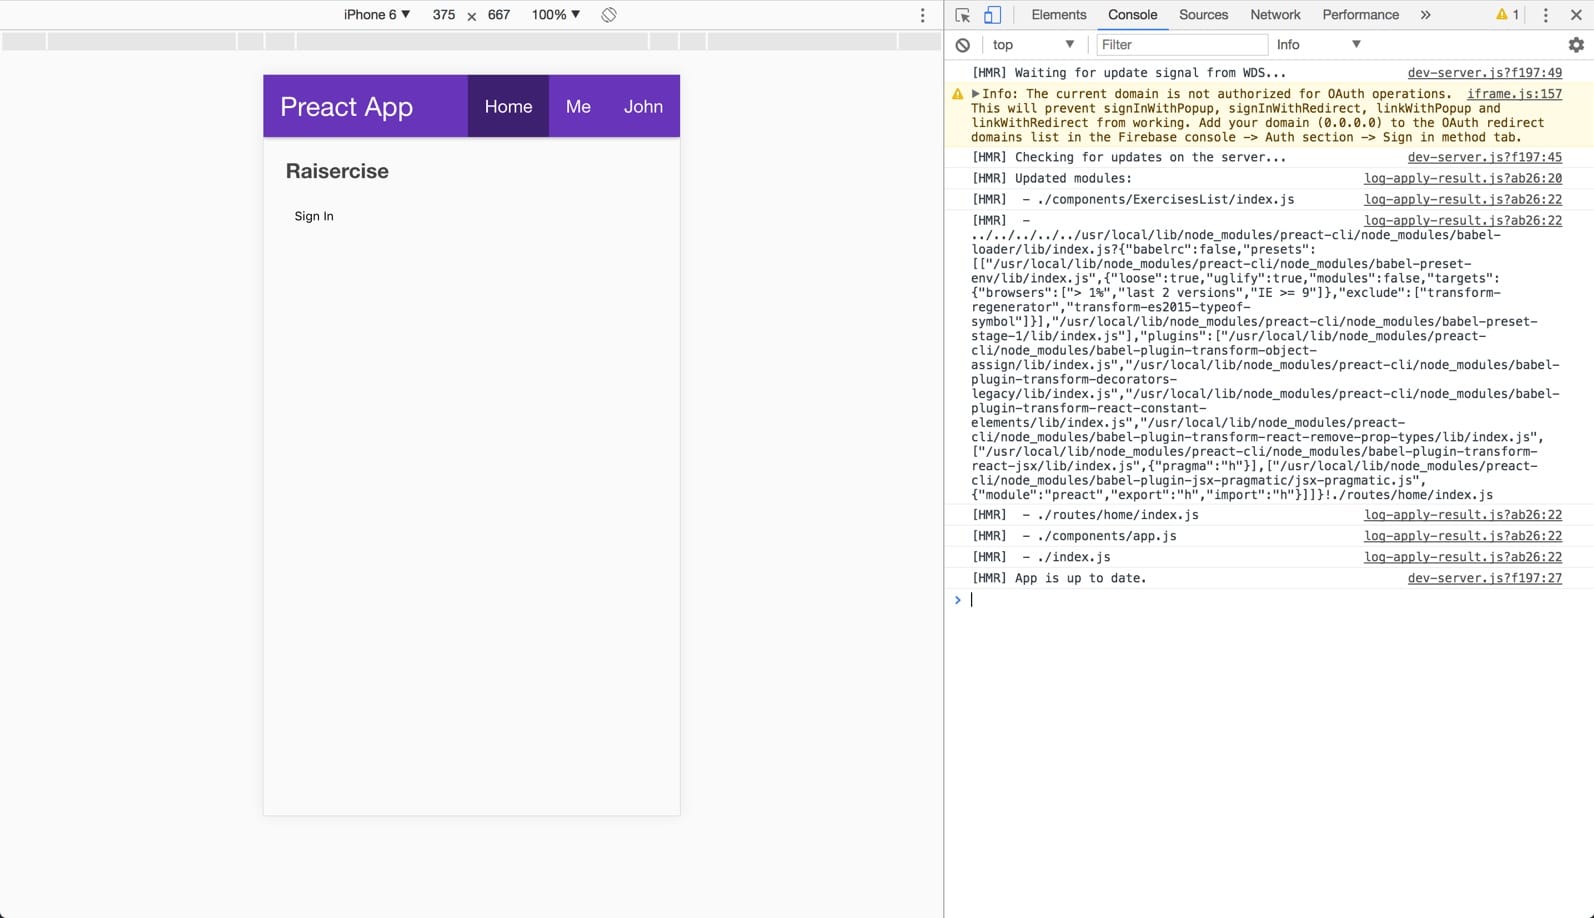
I’m very visual, so my next step was importing the SignIn component to see it on the page. Because SignIn isn’t directly related to ExercisesList, I made it a sibling component. I don’t see a need to use it any other way yet, but it didn’t feel right nesting it in the folder structure. I am calling it from ExercisesList, though, replacing the placeholder copy. commit
Mo Versions, Mo Problems
It seems that with the new version, the default URL locally is 0.0.0.0:8080 instead of localhost:8080 and 0.0.0.0 isn’t whitelisted for Firebase for OAuth. There were two options for fixing this: change the default host with a flag, like preact watch --host localhost or changing it in Firebase’s admin. Since I’d have to type that about “fifty eleven” times or add an alias, I made the change in Firebase. (I also assumed it was changed for a good reason that I’m not aware of.)
Removing Boilerplate
The default header in the default Preact-CLI template (there are other options) is awesome for getting started, but there won’t be a header in this app until v2, if ever. So, I killed it. commit
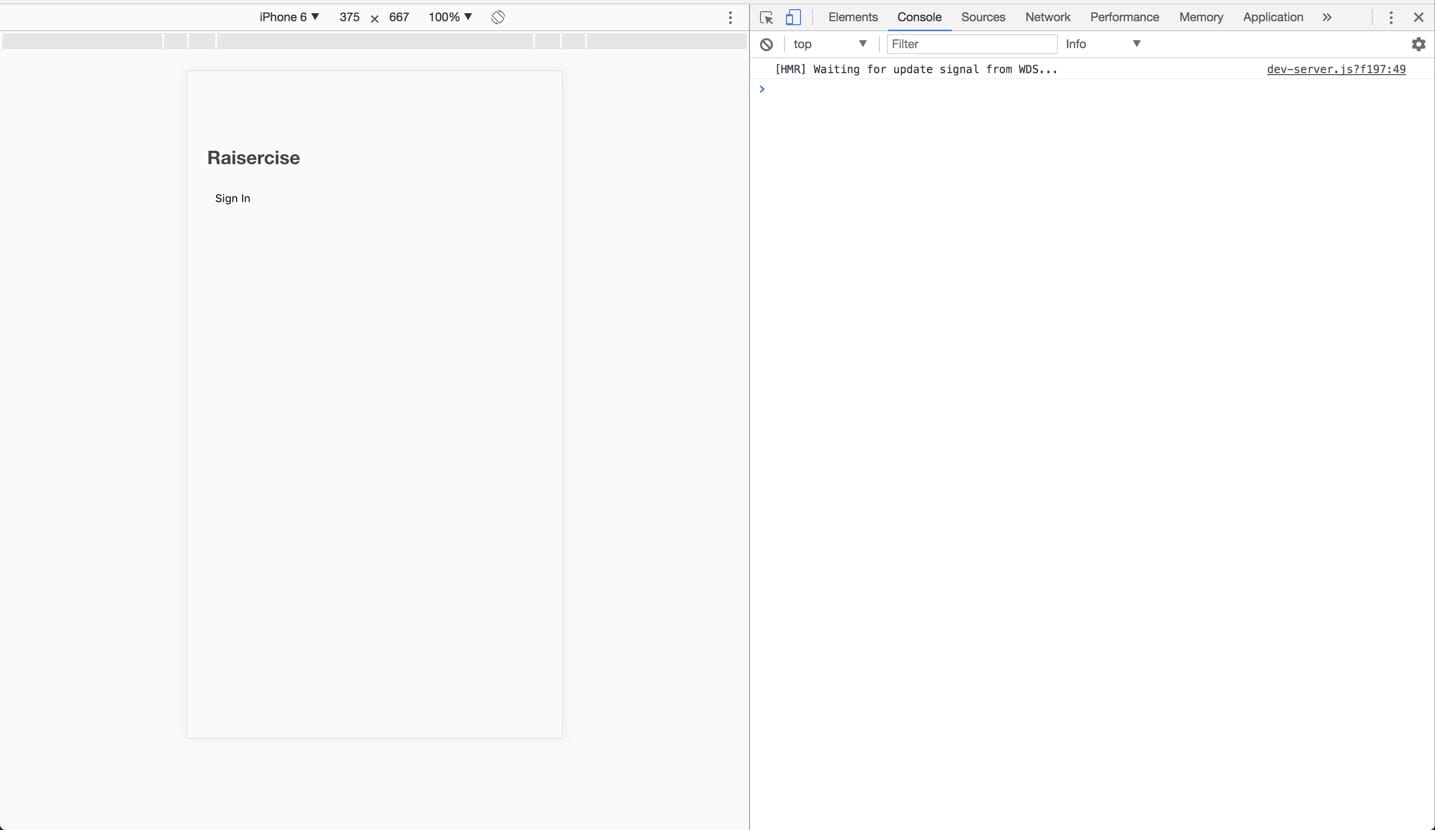
The alignment and lack of style looked funky, and that was killing me, but I held strong on leaving CSS for later.
A Snafu
At this point, I realized ExercisesList wasn’t a great name for the primary container since it also contained SignIn. So, I swapped it for Exercises. commit
Adding an Exercises List for Reals
I kinda looked like Larry David as I tried to decide between Exercises List and Exercise List. This job would be great if it weren’t for naming. Ultimately, I wanted the relationship of the word list to be closer to the child Exercise than the parent. ¯_(ツ)_/¯
For that same reason, I nested ExerciseList in Exercises. I can imagine SignIn possibly being separated in the future, but not Exercises.
Anyhow, I use a pc snippet for a generic Preact component, which looks like this.
import { h, Component } from "preact";

export default class  extends Component {
  constructor () {
    super()
  }

  render () {
    return ()
  }
}
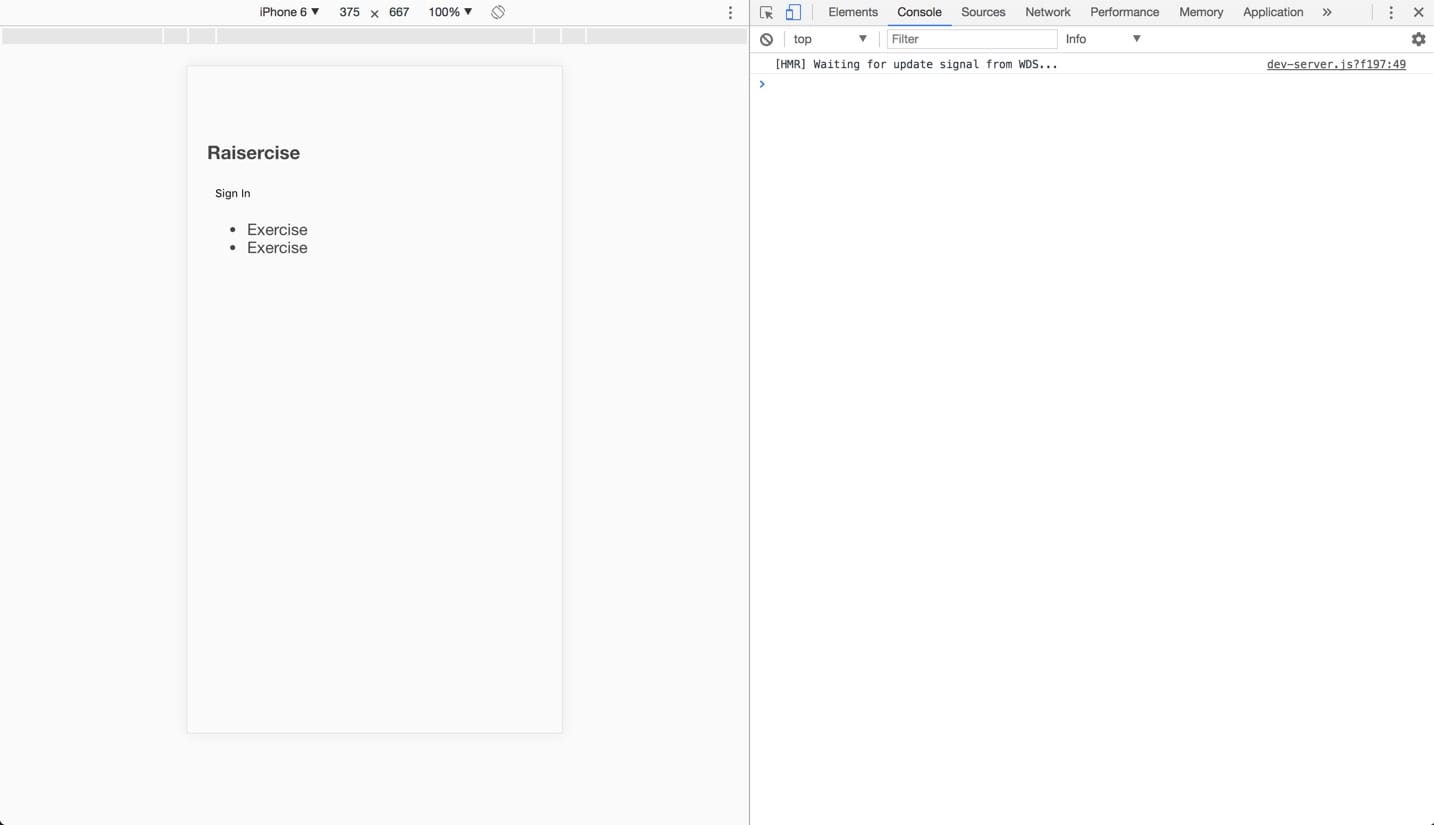
I left the constructor cause I knew I’d need it later and added a placeholder list, simulating the map that I’ll need eventually. Importing that into Exercises made this feel like I was finally getting somewhere. commit
Time to Use Preact
Up until this point, I had been putting HTML into JavaScript. To apply logic, though, I needed to use one of the features of Preact. Technically, state is a feature of React that Preact shrinks down, but I digress.
The gist is that I want to show the SignIn component when there is no authed user and the ExerciseList when there is. To do this, I set a currentUser to null by default, listen for Firebase auth changes, and render based on the value of currentUser in state.
The State of the User
State is a concept that I don’t understand well enough to explain yet, but I’m no longer hung up on the OG front-end definition of it being a visual change to an element. Without a Shadow DOM framework, I would toggle a class on a parent element and use CSS to show the SignIn or ExerciseList HTML. Instead, I can assign values to keys in state to help Preact decide what to render (and when to re-render). We pay the price of learning a new system (and others building and maintaining new systems) to provide a better experience for users.
The best part is that it’s straight forward. Here’s how I added a null user to state in ExerciseList.
import { h, Component } from "preact";

export default class extends Component {
  constructor() {
    super();

    this.state = {
      currentUser: null,
    };
  }

  render() {
    return (
      <ul>
        <li>Exercise</li>
        <li>Exercise</li>
      </ul>
    );
  }
}
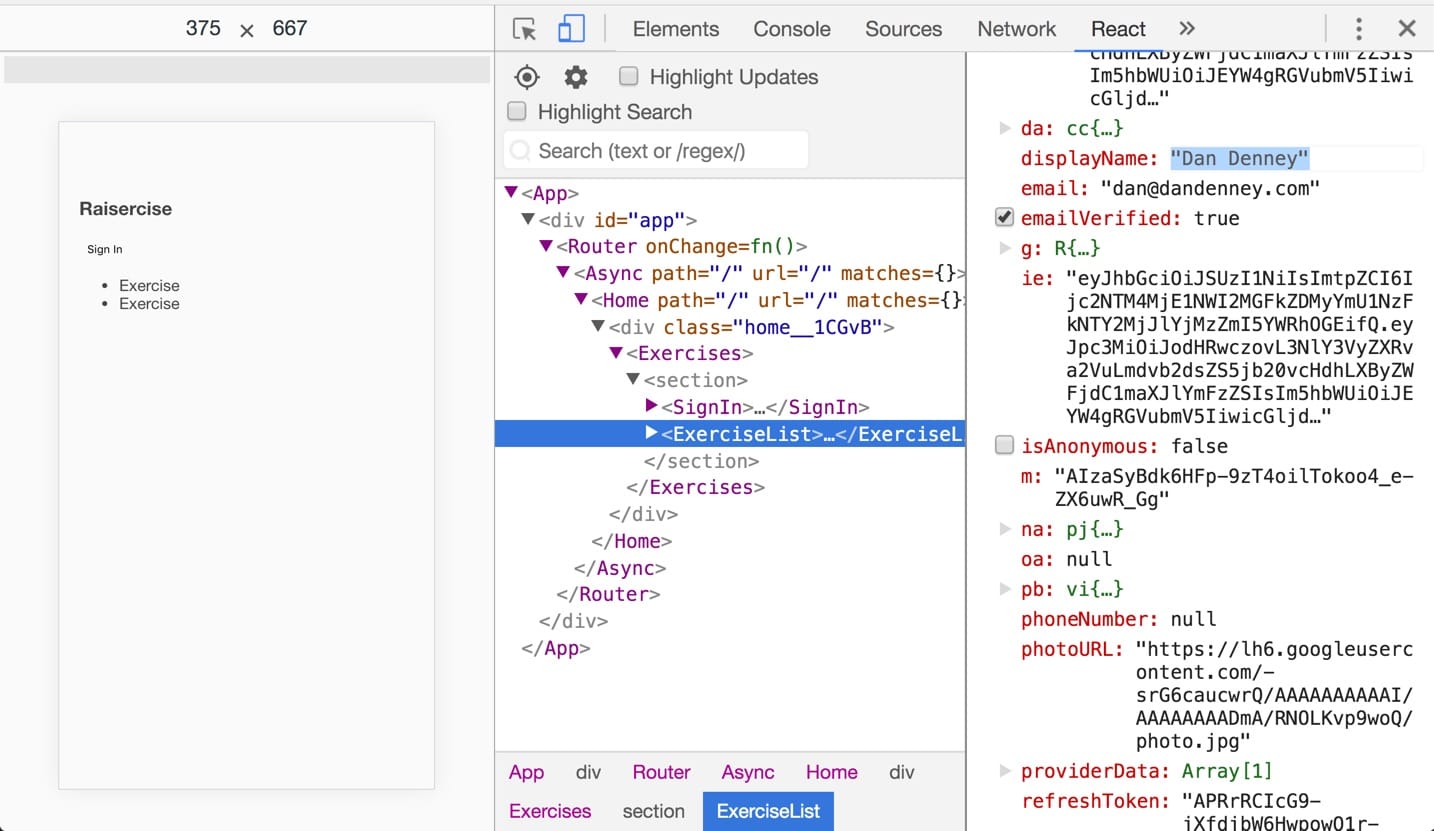
Viewing that in the React Developer Tools confirmed that it worked and that I had messed up. When I refactored, I forgot to assign a name to the class in ExerciseList, so it was rendering a <_default> component. Fixed that. commit
Adding a LifeCycle Event
Another significant difference in Shadow DOM frameworks is lifecycle methods. They are another way of helping to decide what and when to render. In this case, I’m using componentDidMount to listen for Firebase auth methods. I also had to bring in auth from Firebase. commit
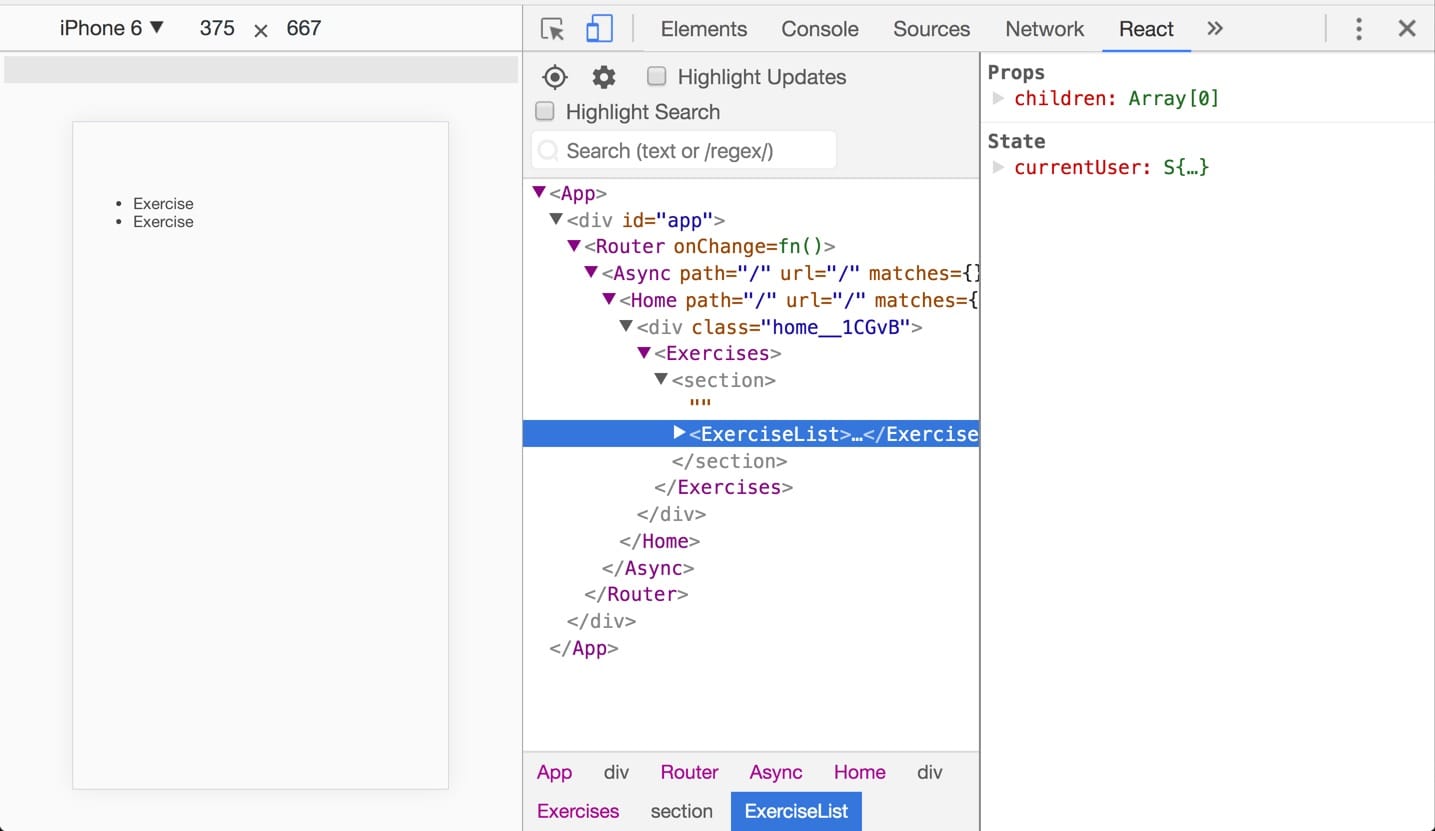
At this point, clicking the Sign In button changes the state of currentUser from null to an object that Firebase returns for the current user.
Render and Re-render
The final bit to make this work was some conditional logic in the Exercises component’s render function. For that to work, it needed to bring in state and assign it within the render function.
import { h, Component } from "preact";
import {
  auth,
  database,
} from "./img/posts/front-end-dev/building-a-small-pwa-with-preact-and-firebase/firebase";
import ExerciseList from "/img/posts/front-end-dev/building-a-small-pwa-with-preact-and-firebase/ExerciseList";
import SignIn from "./img/posts/front-end-dev/building-a-small-pwa-with-preact-and-firebase/SignIn";

export default class Exercises extends Component {
  constructor() {
    super();

    this.state = {
      currentUser: null,
    };
  }

  render() {
    const currentUser = this.state;

    return (
      <section>
        {!currentUser && <SignIn />}
        {currentUser && <ExerciseList />}
      </section>
    );
  }
}
With a user signed in, the UI is showing the ExerciseList component.
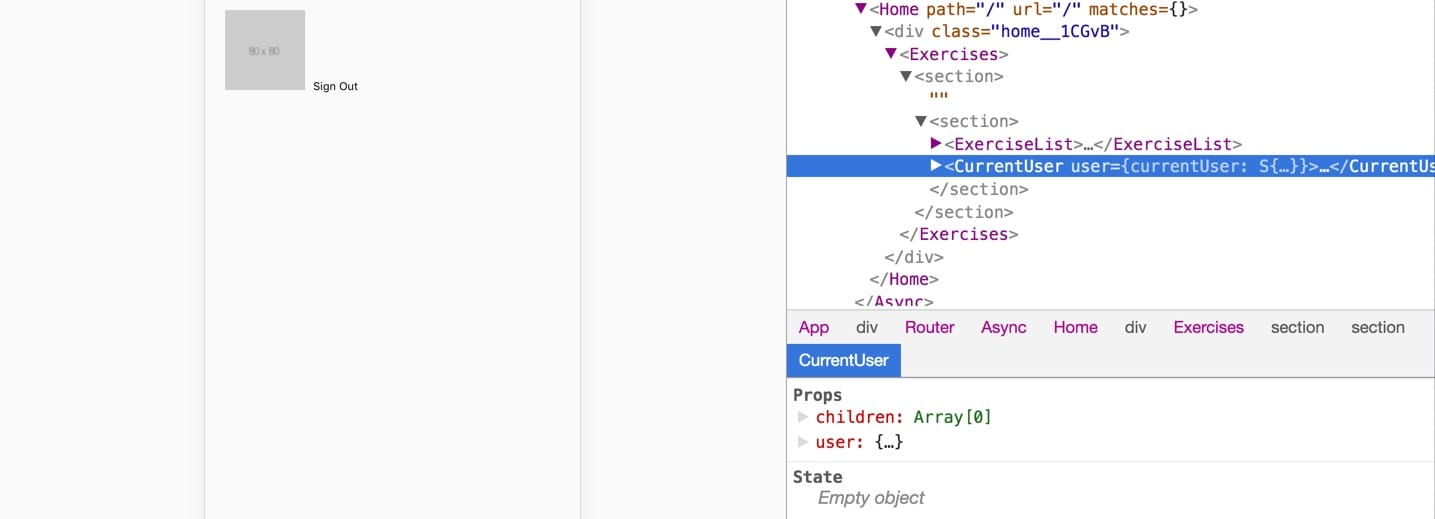
While that would eventually be enough to complete the actions that I’ll want, it seemed like adding an avatar and a sign out button was in order. So, I added a CurrentUser component with some placeholders to start. commit
Since this was an additional component within Exercises, I needed to wrap them in a single element (a JSX thing). commit
Passing Data with Props
Since CurrentUser is a child of Exercises, it doesn’t have access to the currentUser state. (I know the naming is getting confusing.) Rather than declare and update state within CurrentUser, I passed it in via props as user. commit

It was at this point that I realized I had messed up again. State had a value for currentUser, but it was passing null to props. I can’t explain why, but I put the componentDidMount code in ExercisesList instead of Exercises. Fixing that made it so that the props was getting my user object. commit
I also had explicitly rebound the currentUser constant in Exercises, which was adding a child object. I had done const currentUser = this.state; instead of const { currentUser } = this.state;. fixed
User Attributes from Google Auth
Now that I had access to the user object via Firebase, I could access the attributes. A console.log revealed all of them, so I used the photoURL and displayName for the alt attribute. This is to give some basic feedback that I’m in the correct account when I auth.
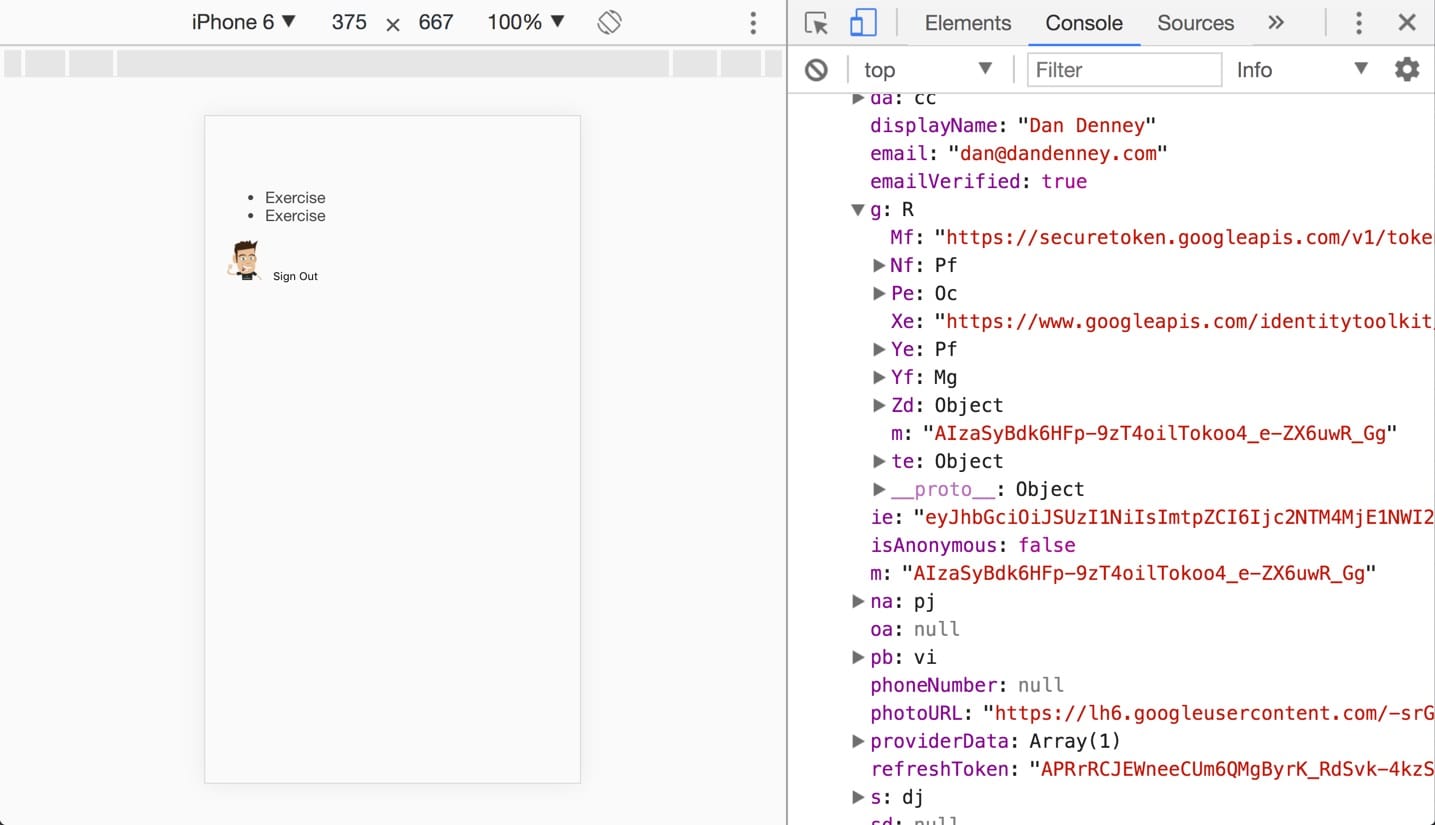
Preact passes props to the render functions, so I shortened up the attributes and added them to the image. commit
import { h, Component } from "preact";

export default class CurrentUser extends Component {
  constructor() {
    super();
  }

  render() {
    const user = this.props.user;
    return (
      <article>
        <img alt={user.displayName} src={user.photoURL} width="40" />
        <button>Sign Out</button>
      </article>
    );
  }
}
Adding Sign Out Functionality
Arguably, I’d never want to sign out aside from testing, but it feels awful to not have the option. Even more so when it’s 2 lines of code to make it happen. The CurrentUser component needed access to Firebase auth and then the auth.signOut() method.
import { h, Component } from "preact";
import { auth } from "./img/posts/front-end-dev/building-a-small-pwa-with-preact-and-firebase/firebase";

export default class CurrentUser extends Component {
  constructor() {
    super();
  }

  render() {
    const user = this.props.user;
    return (
      <article>
        <img alt={user.displayName} src={user.photoURL} width="40" />
        <button onClick={() => auth.signOut()}>Sign Out</button>
      </article>
    );
  }
}
Whew. I now had a fully-functional Preact app with auth, all to see 2 lines of static HTML. It was time for the fun.
Planning Data
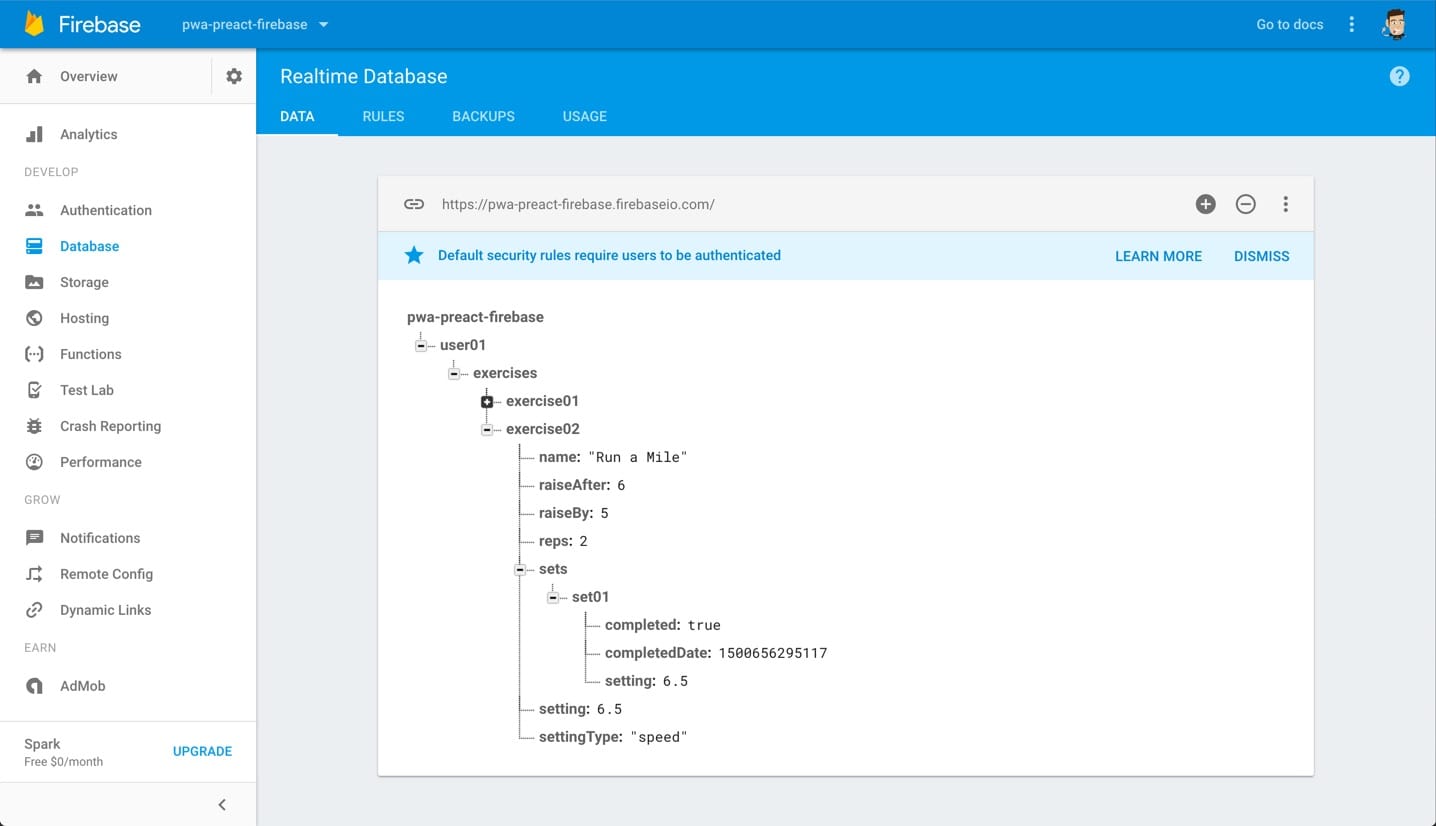
Knowing that Firebase stores data in JS objects, I imagined what the structure for the data would be in the planning portion of the project. I needed a series of exercises, which would have a name and a settingType. Those would have sessions with a setting and a flippable completed key. Each session would have an individual set with a timestamp and a completed key. I came up with:
- exercises
  - exercise
    - name
    - settingType
    - sessions
      - setting
      - completed
      - sets
        - timestamp
        - completed
No Plan Survives Contact with Code
While that’s a misquote of a classic, it’s very true for me, and it was true for my plan for data. If you want a small test, peek at it and yell out what I’m missing. (It’s ok, the people around you will understand.)
The first thing that I realized that I missed was users. While I thought that I’d be the only user, even for testing there would need to be 2. With this structure, exercises would be read/written by everyone. So, the first step was changing to users first.
- user
  - exercises
I also missed some attributes that I’d need and figured that creating sets after each completion round seemed like overkill. (That part was based on how I’d need to compare the recent data to determine when to raise the setting. Since I’d need to compare regardless, it was more work with no apparent benefit).
The timestamp is unnecessary for the basic functionality, but I knew that I’d want to graph these in a future version and wanted to be sure to have the data. I ended up with:
- user
  - exercise
    - name
    - setting
    - settingType
    - reps
    - raiseAfter
    - raiseBy
    - sets
      - set
        - setting
        - completed
        - completedDate
One of the awesome features about Firebase is that you can create the data in their UI to test it out before needing to hook up a form. (Kinda how you’d mock up with local JSON).
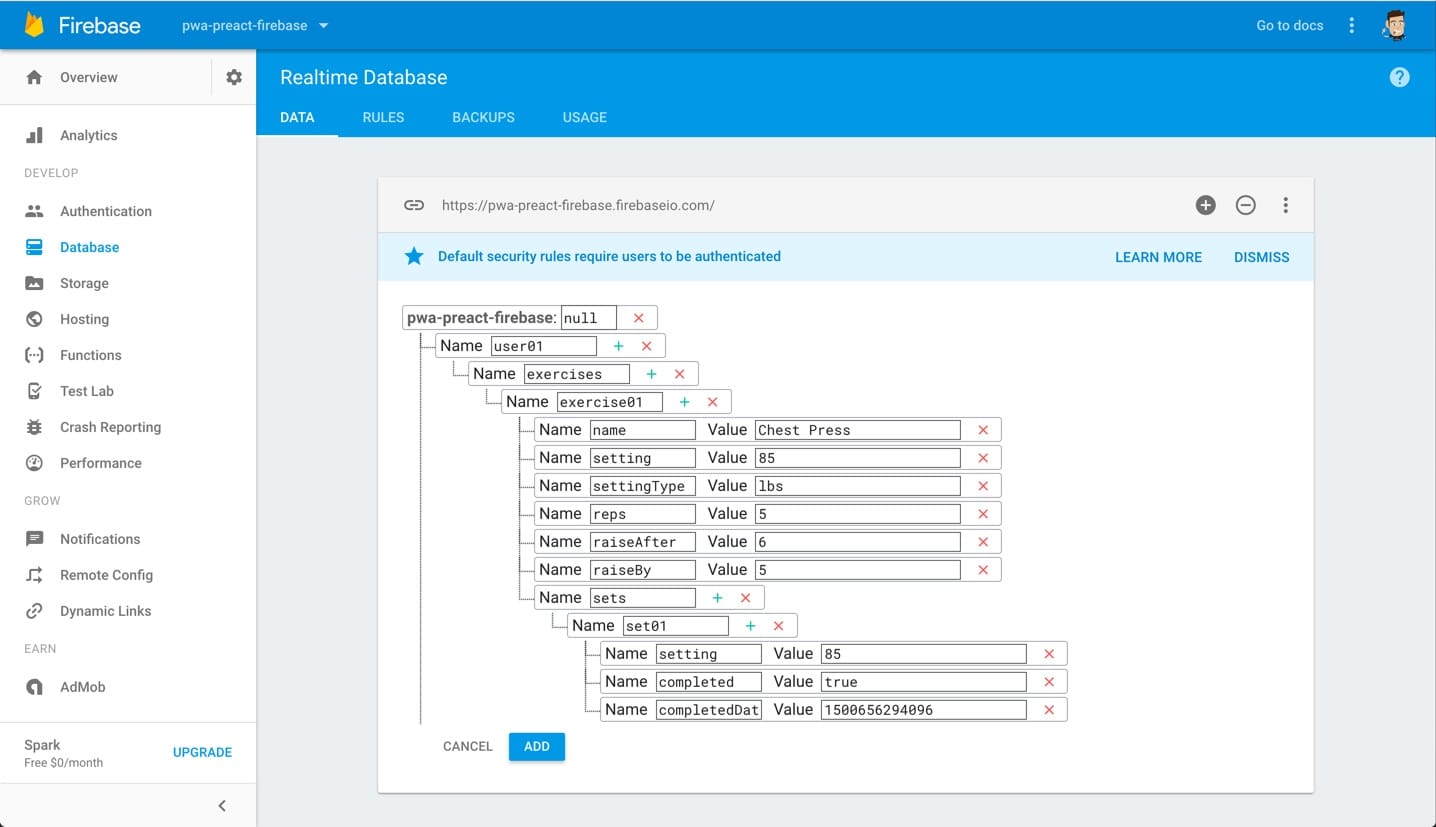
I added 2 to make sure a loop works.
Getting State In Order
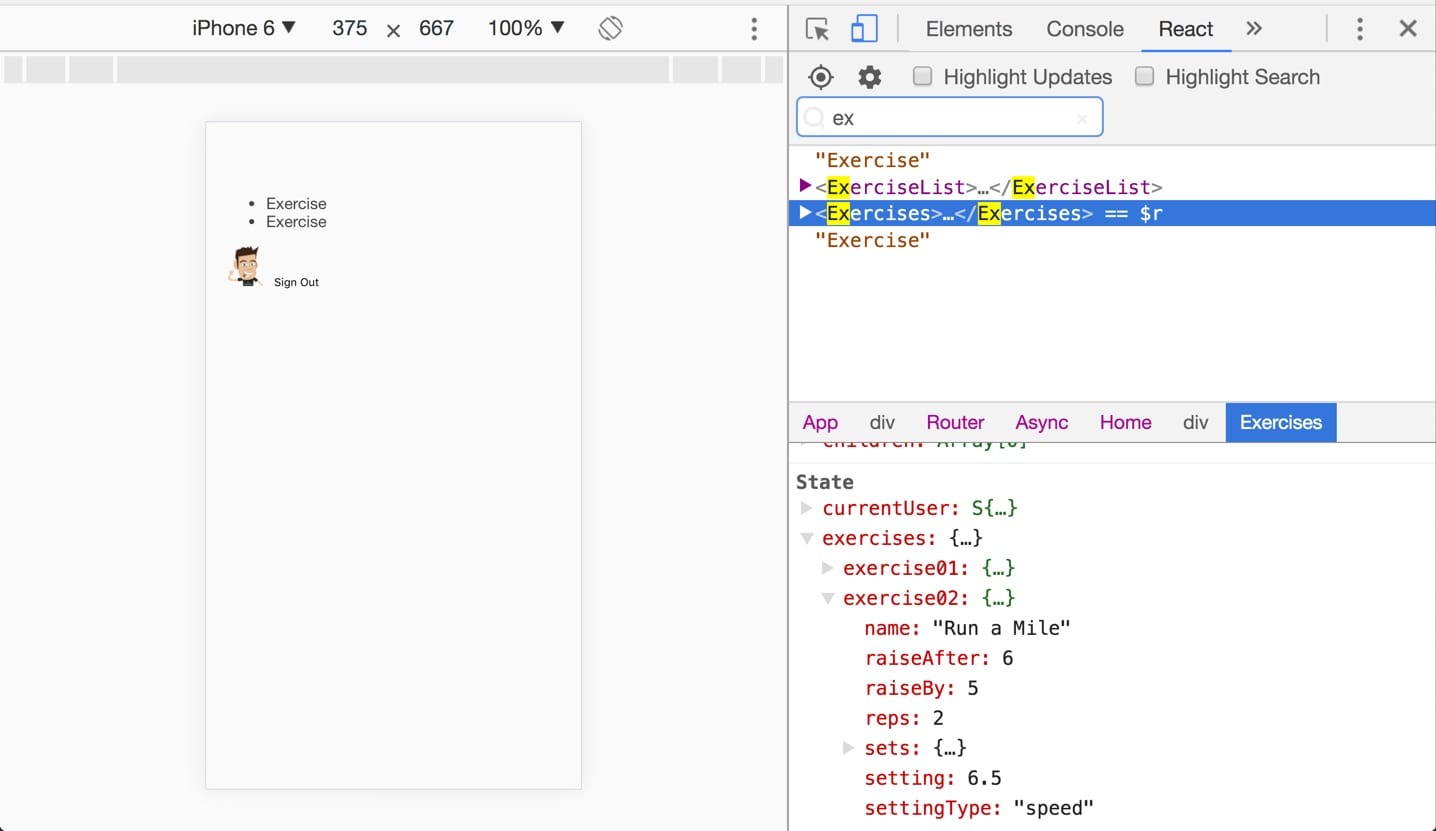
I learned the hard way to make sure that you get state configured correctly in your app before trying to render or create a form to add the data. In this app, data will be sent directly to Firebase. The data is then retrieved from Firebase and pushed into the local state.
Retrieving Data from Firebase
Since I’m an authed user, Firebase will allow me to read and write to the database. Reading is done via a URL acting as an endpoint. In this case, it’s
https://pwa-preact-firebase.firebaseio.com/user01I added exercises: null to state so that it can be updated once the data is retrieved. Some of the URL is in the config, so I access it by piecing together bits with my UID. That doesn’t match the dummy data that I added, so I hard-coded user01 to test.
componentDidMount() {
  auth.onAuthStateChanged(currentUser => {
    this.setState({ currentUser });
  });

  const exercisesRef = database.ref('/' + 'user01' + '/exercises');

  exercisesRef.on('value', snapshot => {
    this.setState({ exercises: snapshot.val() });
  });
}
Boom! Data coming from Firebase was now getting pushed directly into state, which would later determine what and when to render. commit
A Learning Curveball
Speaking of rendering, this was where everything fell apart for me. I didn’t know what I didn’t know, so I thought I needed to manually update state. I asked on SO and had an expensive first try of Code Mentor without resolution. I was stuck for like three days straight, and it made me stop trying to make this a “build with me” video.
The issue was that I was supposed to just push state and output from it, but I had been trying to build a nested local state. It was Steve Kinney’s explanation of how Firebase stores data (and why to use Lodash) that finally made it click.
Rendering Data from Firebase
Lodash’s map method works with nested objects like .map() does for arrays. Installing and importing that was the first step to rendering data. commit
Since I wanted to loop over a user and their exercises, I needed both of those accessible within ExercisesList. I updated the render function in Exercises to include exercises and then assigned both as props.
render() {
  const { currentUser, exercises } = this.state;

  return (
    <section>
      {!currentUser && <SignIn />}
      {currentUser &&
        <section>
            <ExerciseList exercises={exercises} user={currentUser} />
            <CurrentUser user={currentUser} />
        </section>}
    </section>
  );
}
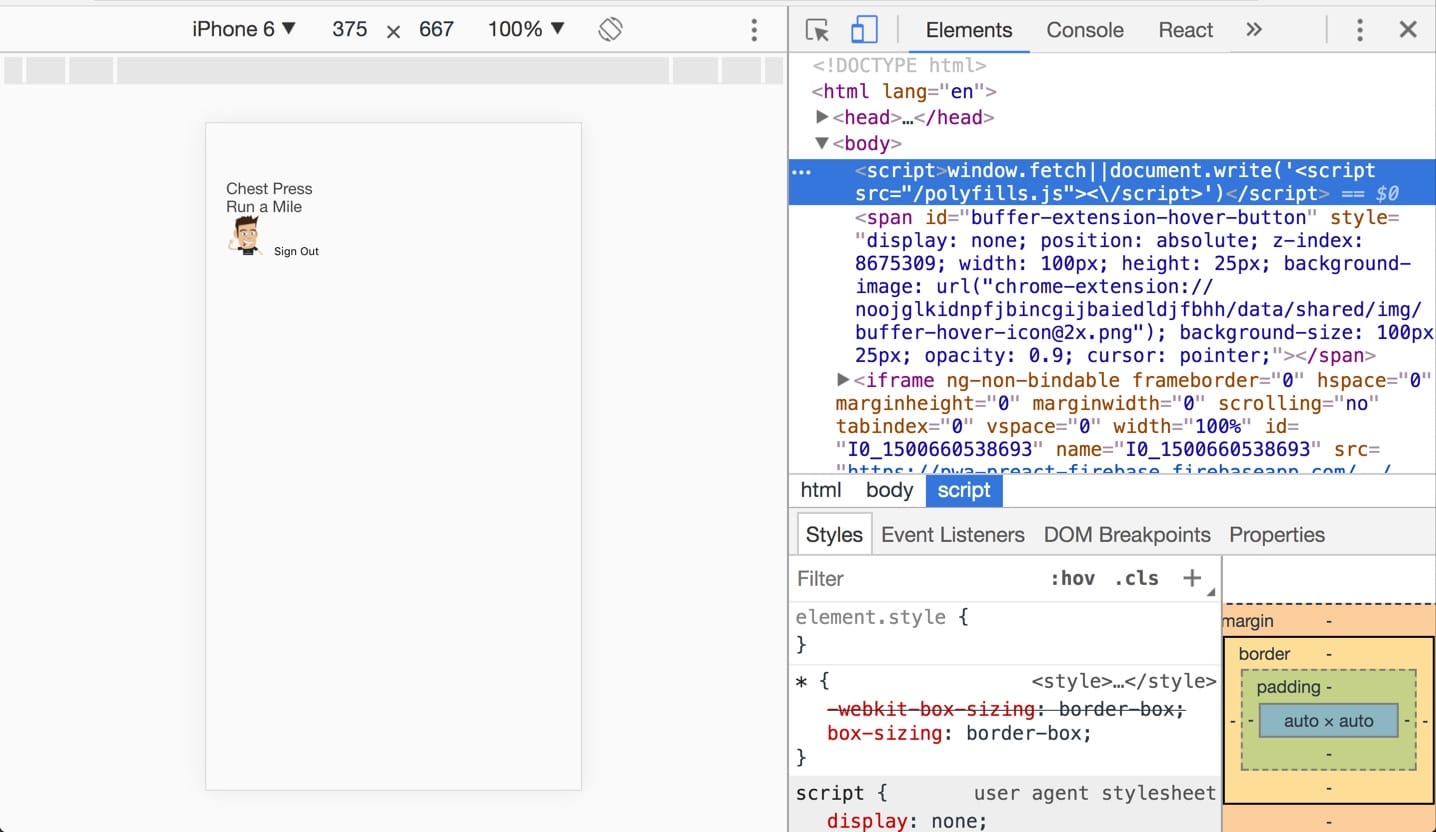
To ensure this worked, I rendered a single attribute in ExercisesList. commit
render() {
  const { user, exercises } = this.props;
  return (
    <section>
      {map(exercises, (exercise, key) => <article>{exercise.name}</article>)}
    </section>
  );
}
I knew that I was going to be adding a lot (well some) more functionality, so I wanted to push the HTML for an individual Exercise into its own component. That required passing the user, the key, and all of the attributes of an exercise in via props. This spread operator {...exercise} made that easy.
{
  map(exercises, (exercise, key) => (
    <Exercise key={key} {...exercise} user={user} />
  ));
}
To render them I added each of the ones that I wanted as constants before calling them in the HTML. commit
render() {
  const { name, setting, settingType } = this.props;
  return (
    <article>
      <h3>
        {name}
      </h3>
      <p>
        <div>{setting}</div> {settingType}
      </p>
      <p>
        <button setting={setting}>
          Fail
        </button>
        <button setting={setting}>
          Complete
        </button>
      </p>
    </article>
  );
}
At this point, the skeleton was in place. I knew auth was working and I could retrieve and render data from Firebase. It was time to start adding data from the app.
Connecting a Form to Firebase
The data (exercises) needed to be tied to an account and only able to be created by signed in users, so I added NewExercise and rendered it when there was a currentUser. commit
To save this data, I needed to get all the values from the inputs, assign them to keys/values that match up with the data structure and send that structure to Firebase. It turned out that local state was great for handling the first part.
I like to get one small bit working and then replicate, so I got the exercise name saving to state first.
import { h, Component } from "preact";

export default class NewExercise extends Component {
  constructor() {
    super();

    this.state = {
      name: "",
    };

    this.handleChange = this.handleChange.bind(this);
  }

  handleChange(e) {
    this.setState({
      [e.target.name]: e.target.value,
    });
  }

  render() {
    const name = this.state;
    return (
      <section>
        <h2>New Exercise</h2>

        <form>
          <div>
            <label for="name">Name</label>
            <input
              type="text"
              name="name"
              onChange={this.handleChange}
              placeholder="Chest Press"
              value={this.state.name}
            />
          </div>
        </form>
      </section>
    );
  }
}
I had learned this technique from tutorials. A function is used as a listener (handleChange) for changes to an input. When it’s changed, local state is updated. commit
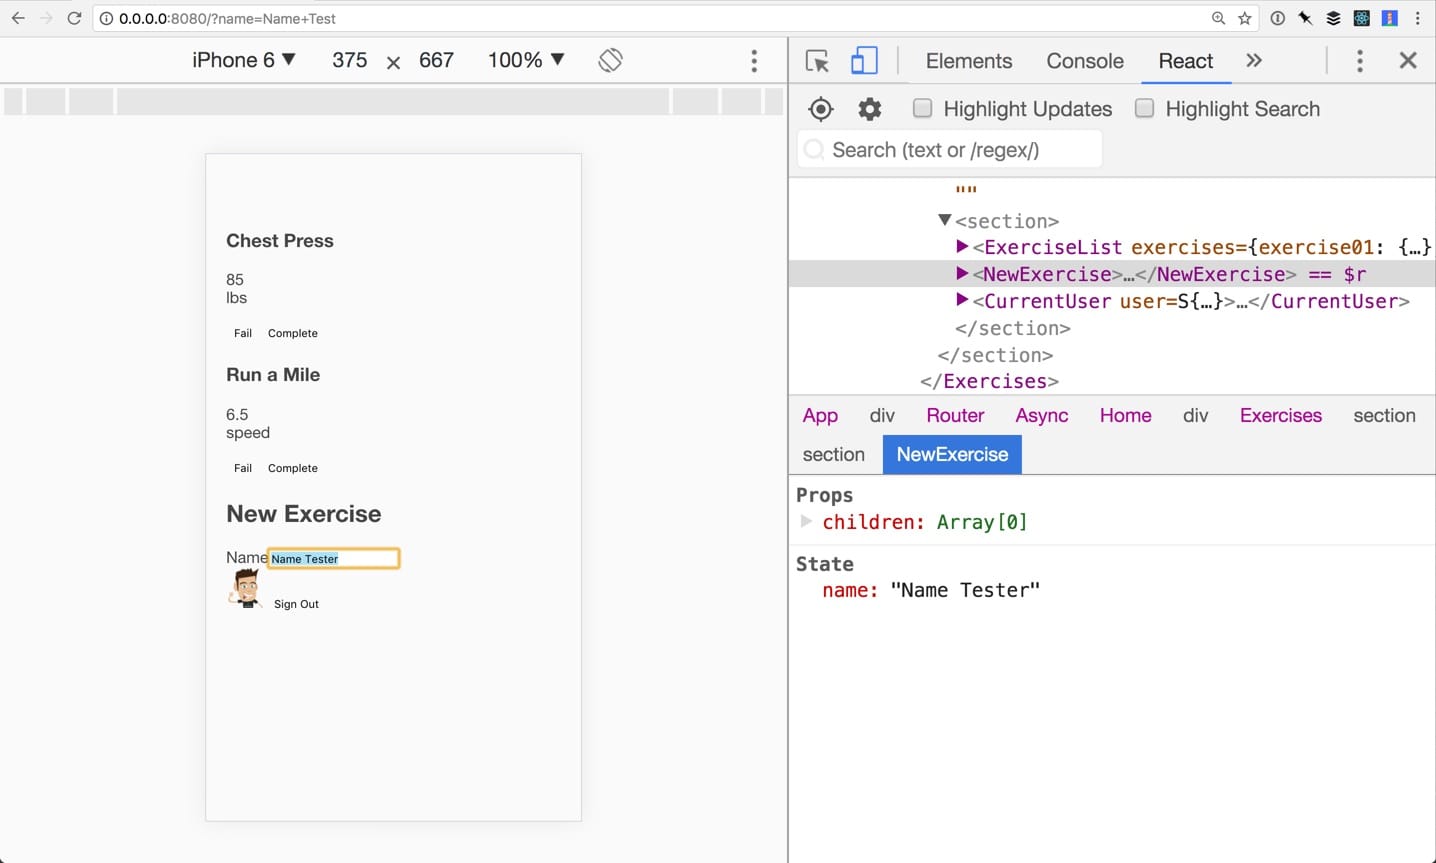
With that working, I added the rest of the data inputs. This meant adding each as empty to state by default, assign them to a variable from state, and creating an input to listen for events. commit
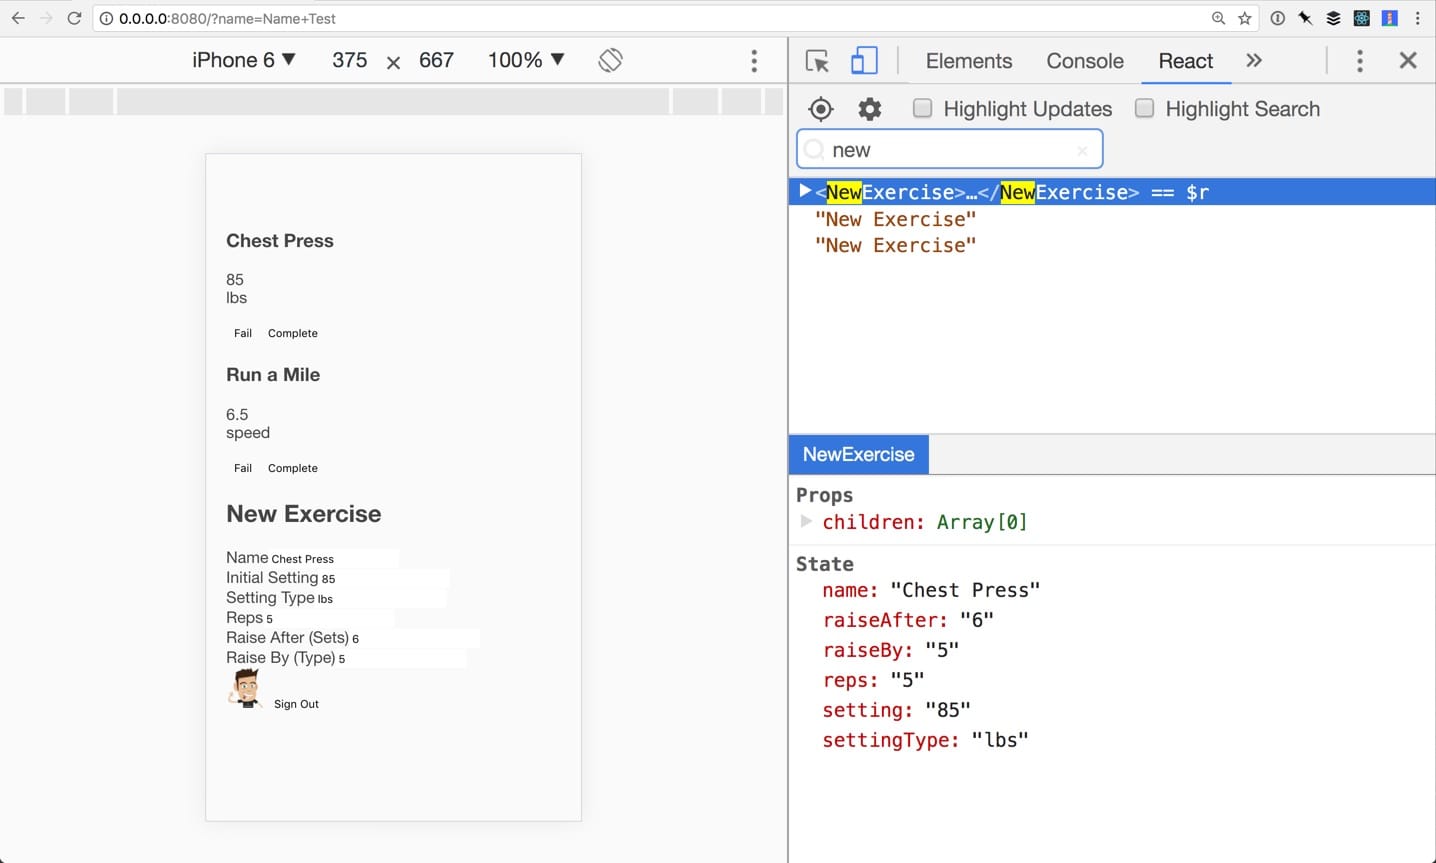
My favorite little bit (and something I had recently learned) was chaining all of the items into one const.
const { name, setting, settingType, raiseAfter, raiseBy, reps } = this.state;With the data in state, I now could use that and Firebase’s push method to handle the submission of the form. The impressive thing about push is that it creates a unique identifier, so I don’t have to things like “exercise01”. To do this, I needed to import the database and allow NewExercise to have access to the current user’s UID. commit
This handleSubmit function blocks the default behavior of the form and sends data to the URL specified, which is based on the UID of the current user. commit
handleSubmit(e) {
  e.preventDefault();
  const exercisesRef = database.ref('/' + this.props.user.uid + '/exercises');

  exercisesRef.push({
    name: this.state.name,
    setting: this.state.setting,
    settingType: this.state.settingType,
    reps: this.state.reps,
    raiseAfter: this.state.raiseAfter,
    raiseBy: this.state.raiseBy
  });
}
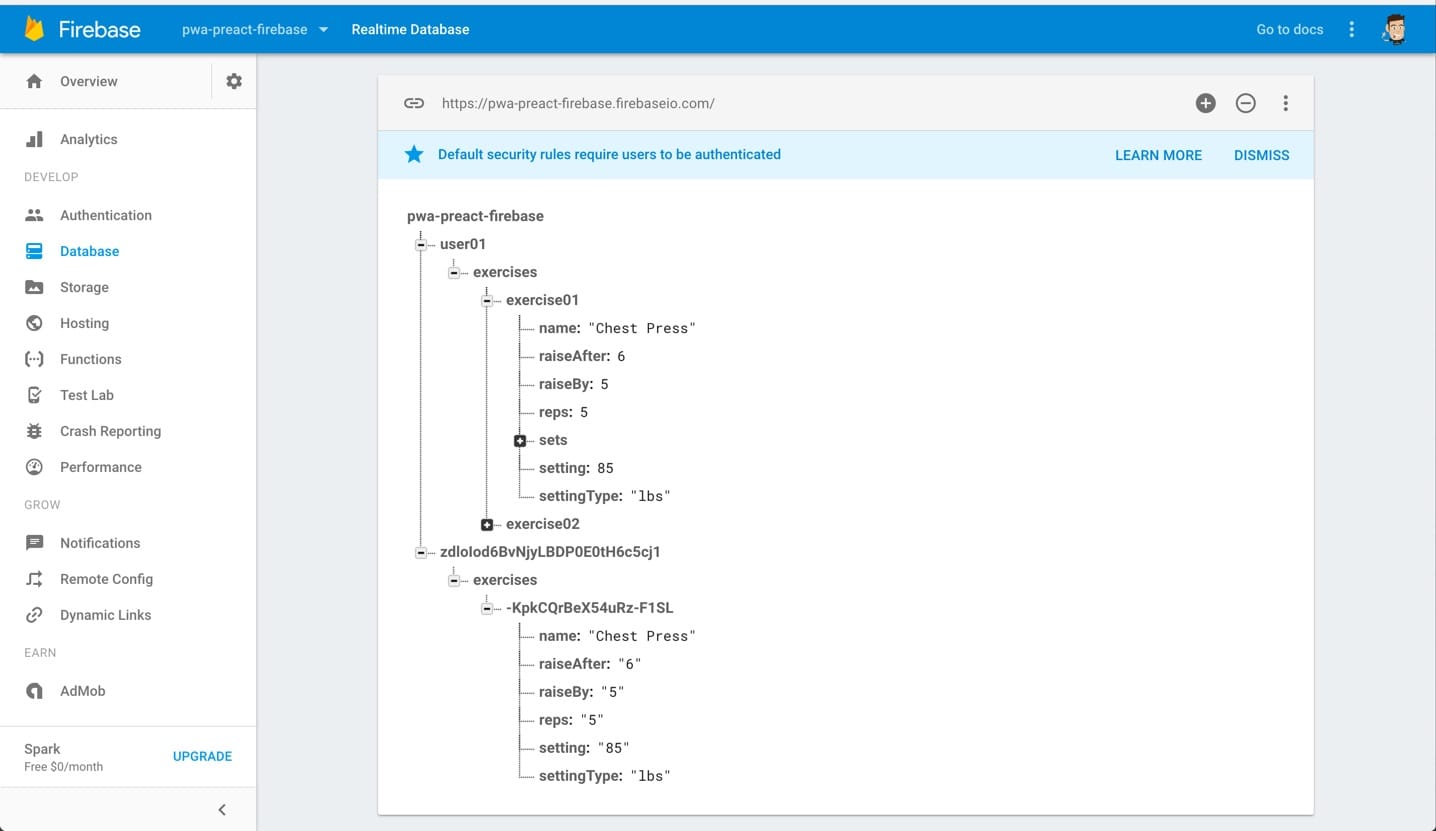
After submitting the form, I could see that the core data structure was the same, with the added benefit of unique keys.
Adding to Existing Data in Firebase
Now that an exercise existed, I needed to hook up the inputs to add sets to it. Since the bulk of the data that I needed to interact with was in ExerciseList, it seemed best to add the functions there and pass them into Exercise.
Because I like to start small to make sure things are working properly, I started with failed exercises. These technically aren’t useful for anything in this version, but I know that I want to create sparklines of progress in the future, so I want to save the data behind the scenes for when I can’t complete a set. When that happens, I wanted to save the setting, the timestamp, and a boolean of false.
I created a handleFailed function with a slightly more complex URL to point to in Firebase. It looks up the user, then the setting of the current exercise, and pushes data to it. The function itself is passed into Exercise, which requires binding props in the constructor.
handleFailed(key) {
  const currentUser = this.props.user;
  const setting = this.props.exercises[key].setting;

  database
    .ref("/" + currentUser.uid)
    .child("exercises")
    .child(key)
    .child("/sets")
    .push({
      completed: false,
      completedDate: Date.now(),
      setting: setting
    });
}
The hard-coded user01 that I had used for ensuring the FB data worked earlier came back into play here, so I had to update it to use the current user as well: const exercisesRef = database.ref( '/' + this.state.currentUser.uid + '/exercises' );
Since I was looking for that UID too early, I had to move that within Firebase’s onAuthStateChanged method. commit
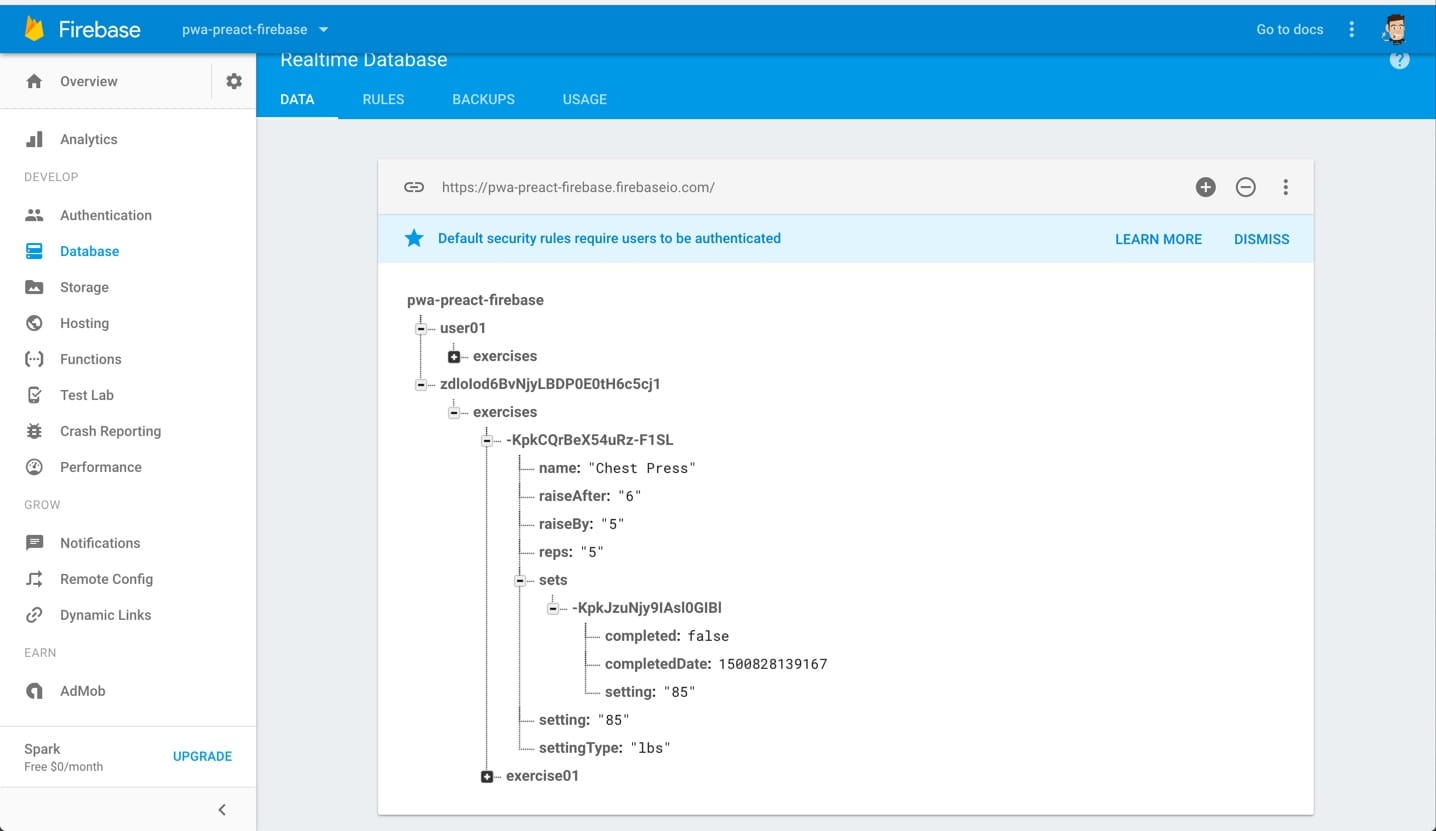
With that in place, clicking the Fail button adds data with a unique identifier to the current exercise.
Adding Data Conditionally
Adding data for completions required some logic, and I don’t love the organization of this function, but it works. The gist is that before sending the data, the total number of completions needs to be compared to the number of completions to “raise after.” Once the number of completions is 1 less than the “raise after,” it needs to push the completion data and update the setting by the “raise by” amount.
First things first, I created some constants to make the comparisons more readable.
const currentUser = this.props.user;
const raiseAfter = this.props.exercises[key].raiseAfter;
const raiseBy = this.props.exercises[key].raiseBy;
const setting = this.props.exercises[key].setting;
const completedCount = filter(this.props.exercises[key].sets, {
  setting: setting,
  completed: true,
}).length;
To get the completed count, I needed to filter the results using lodash. Then I used them to create the basic push (when completed is at least 2 less than the amount to raise by).
if (completedCount < raiseAfter - 1) {
  database
    .ref("/" + currentUser.uid)
    .child("exercises")
    .child(key)
    .child("/sets")
    .push({
      completed: true,
      completedDate: Date.now(),
      setting: setting,
    });
}
Because I was dealing with integers and decimals for settings and JavaScript hates math with decimals, I needed to tack on some methods to check for a decimal number and output differently when there is one. Thank goodness for Stack Overflow!
else {
  const newSetting = function checkForDecimal() {
    if (raiseBy.indexOf(".") === -1) {
      return Number(setting) + Number(raiseBy);
    } else {
      return (Number(setting) + Number(raiseBy)).toFixed(1);
    }
  }
}
When the number of completions is one less than the amount to complete before raising, completing one should add the completed data and raise the setting.
database
  .ref("/" + currentUser.uid)
  .child("exercises")
  .child(key)
  .child("/sets")
  .push({
    completed: true,
    completedDate: Date.now(),
    setting: setting,
  });
database
  .ref("/" + currentUser.uid)
  .child("exercises")
  .child(key)
  .update({ setting: newSetting });
Similar to handleFailed, I then needed to pass a function into Exercise and call it on the button in there. commit
This part felt magical because it’s so fast. On clicking the “complete” button, it pushes the new setting. Because Preact is always listening for state changes, it grabs that new setting and renders it.
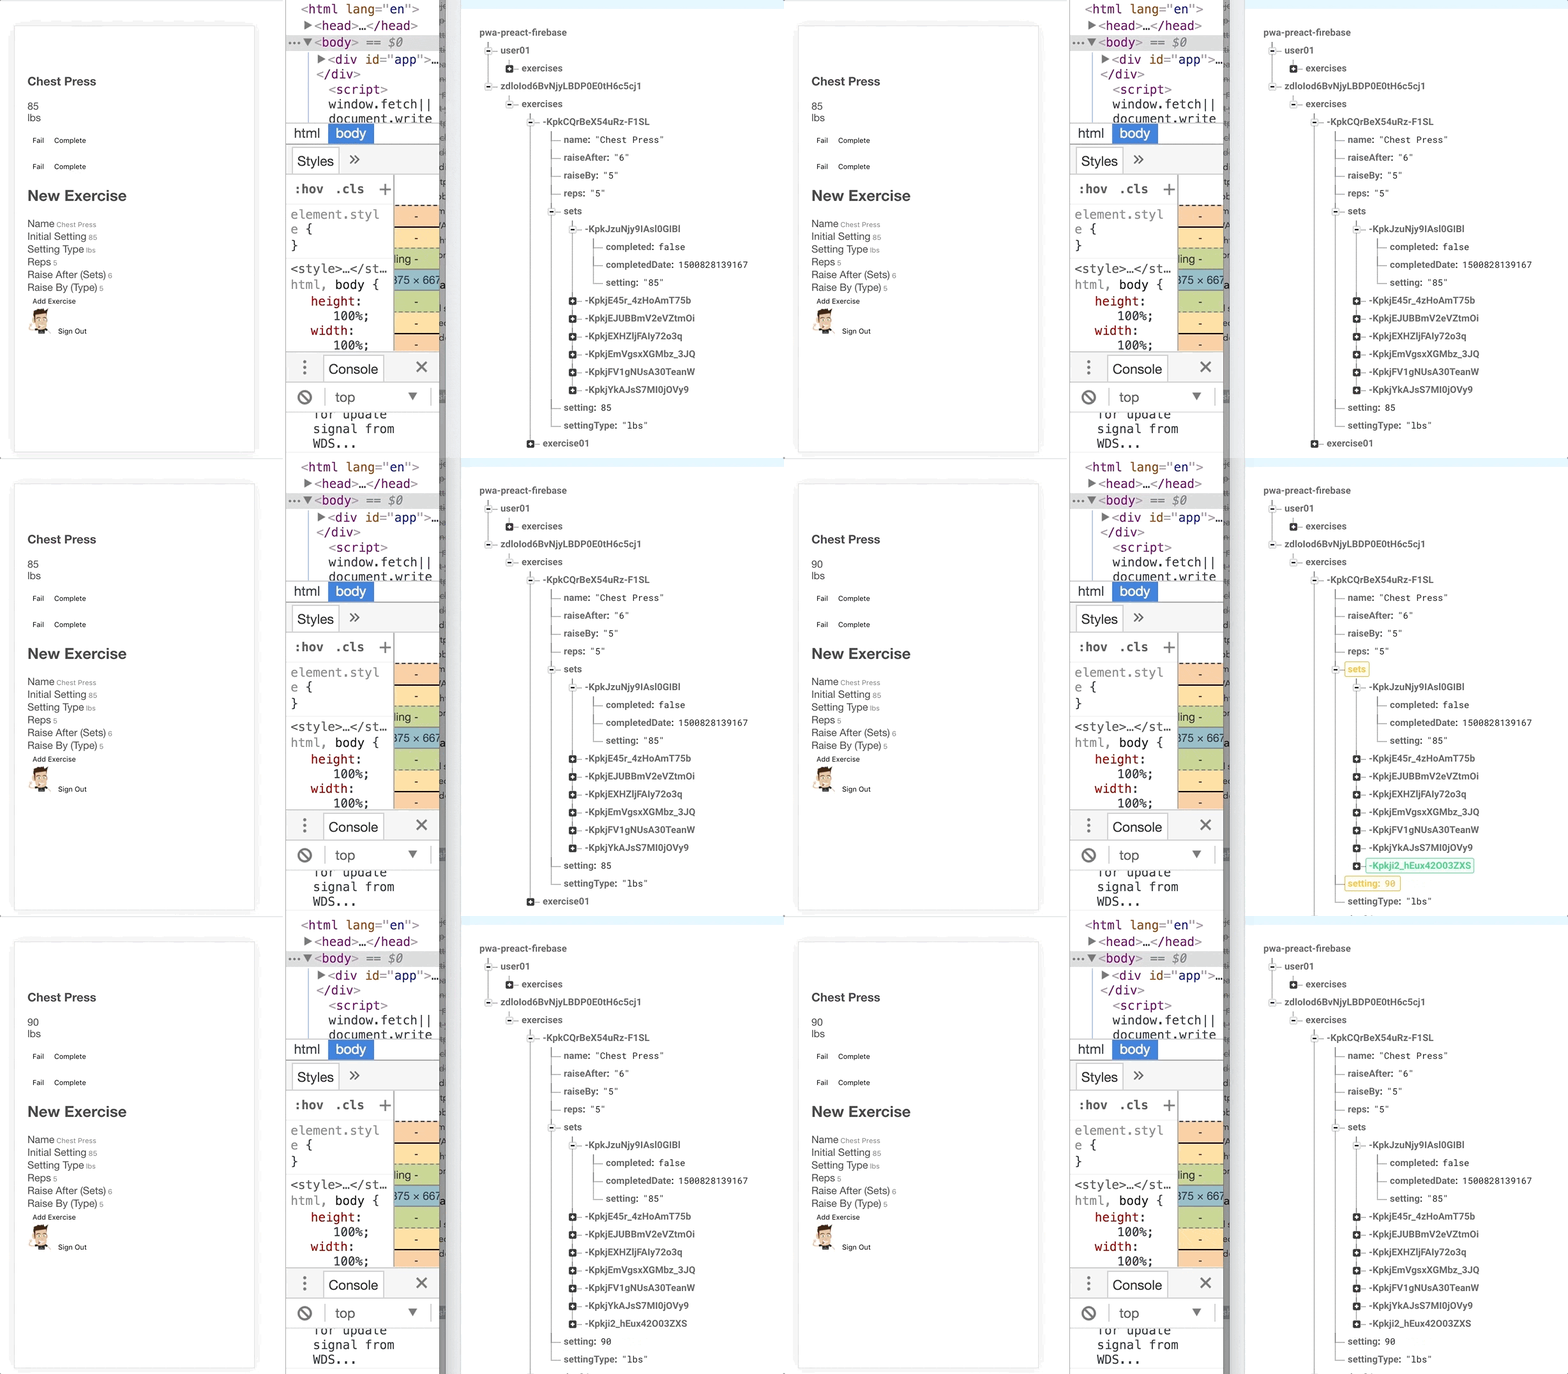
The final bit of functionality for this version was outputting an indicator that the data was updated. As a progress tracker, I wanted visual feedback of progress. To do this, I needed to use filter to only output completed sets and map to loop over the filtered results. commit
import { h, Component } from "preact";
import { filter, map } from "lodash";

export default class Exercise extends Component {
  constructor() {
    super();
  }

  render() {
    const {
      name,
      setting,
      settingType,
      sets,
      handleCompleted,
      handleFailed,
    } = this.props;
    const filters = filter(sets, {
      setting,
      completed: true,
    });

    return (
      <article>
        <h3>{name}</h3>
        <p>
          <div>{setting}</div> {settingType}
        </p>
        <p>
          <button onClick={handleFailed} setting={setting}>
            Fail
          </button>
          <button onClick={handleCompleted} setting={setting}>
            Complete
          </button>
        </p>
        <ul>
          {sets && map(filters, (filter, key) => <li key={key}>{key}</li>)}
        </ul>
      </article>
    );
  }
}
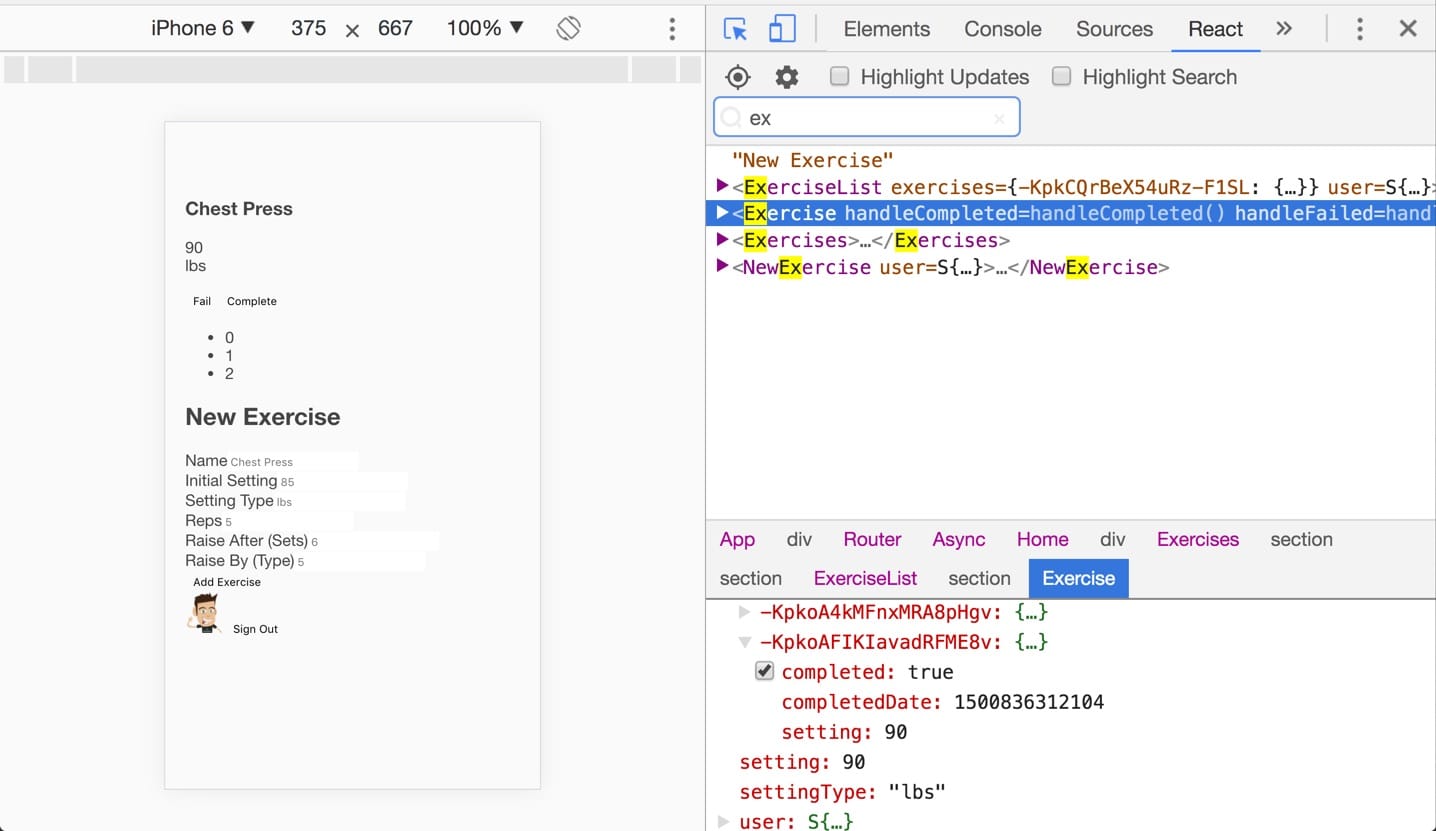
To verify it was working without digging through Dev Tools, I rendered a list with the key, knowing that I’d make that more like “eye candy” with CSS.
Adding Global Styles
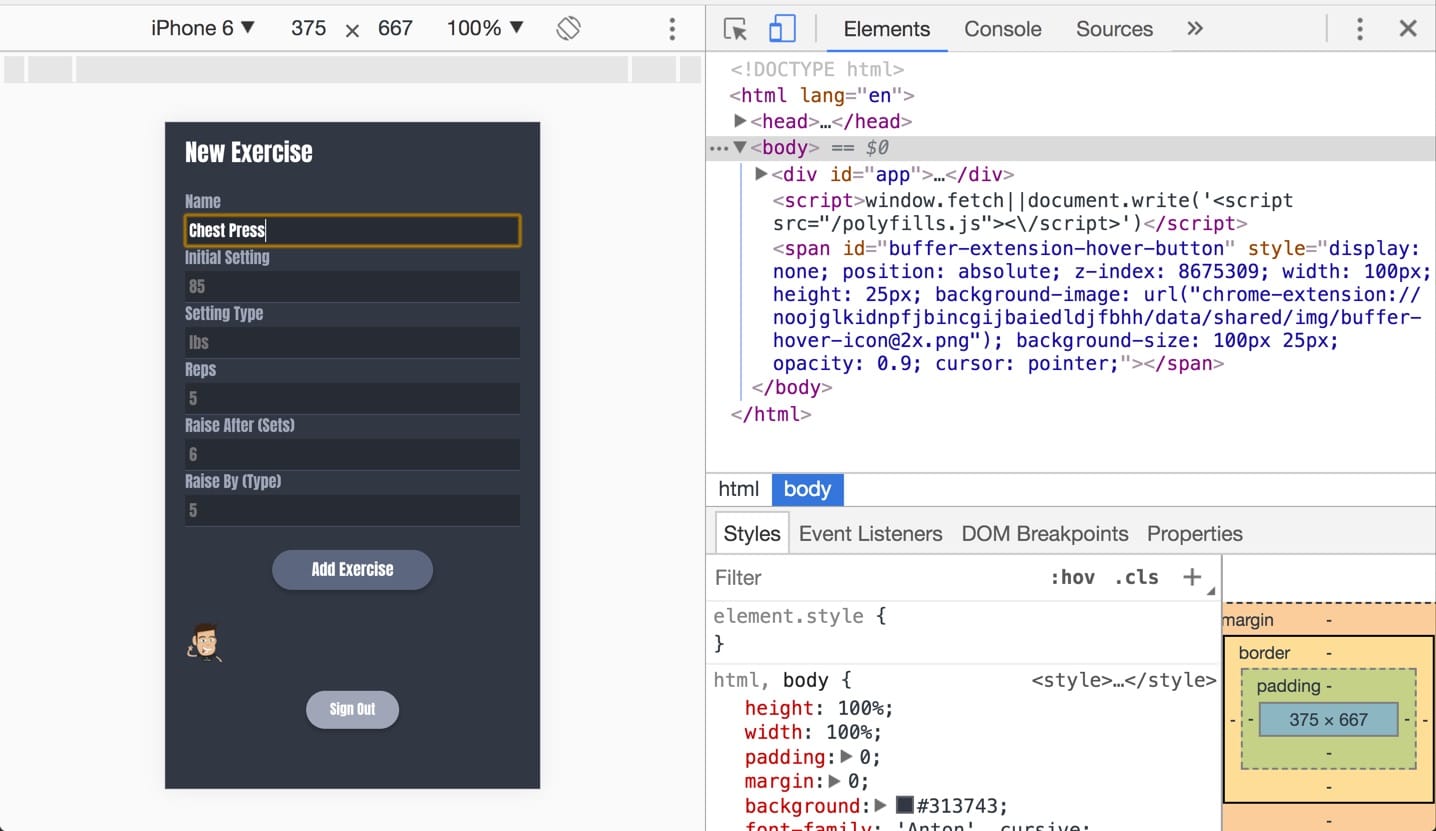
CSS in JS is new to me, and I don’t have a clear methodology yet. However, this was small enough that it doesn’t matter much. I made a variables.scss for a few colors, and it felt like overkill for this, but something I would want to do for future projects.
$c-bg: #313743;
$c-bg-light: #30353f;
$c-negative: #a24335;
$c-positive: #7b9058;
$c-text: #ffffff;
I then added a font from Google Fonts, reset font weights, and added default styles to inputs and buttons. I usually set a variable for spacing and use rems, but I stayed with pixels. Those styles got it headed in the right direction, and I wanted to try component-level styles for the rest. commit
Adding Component-Level Styles
Individual Exercise
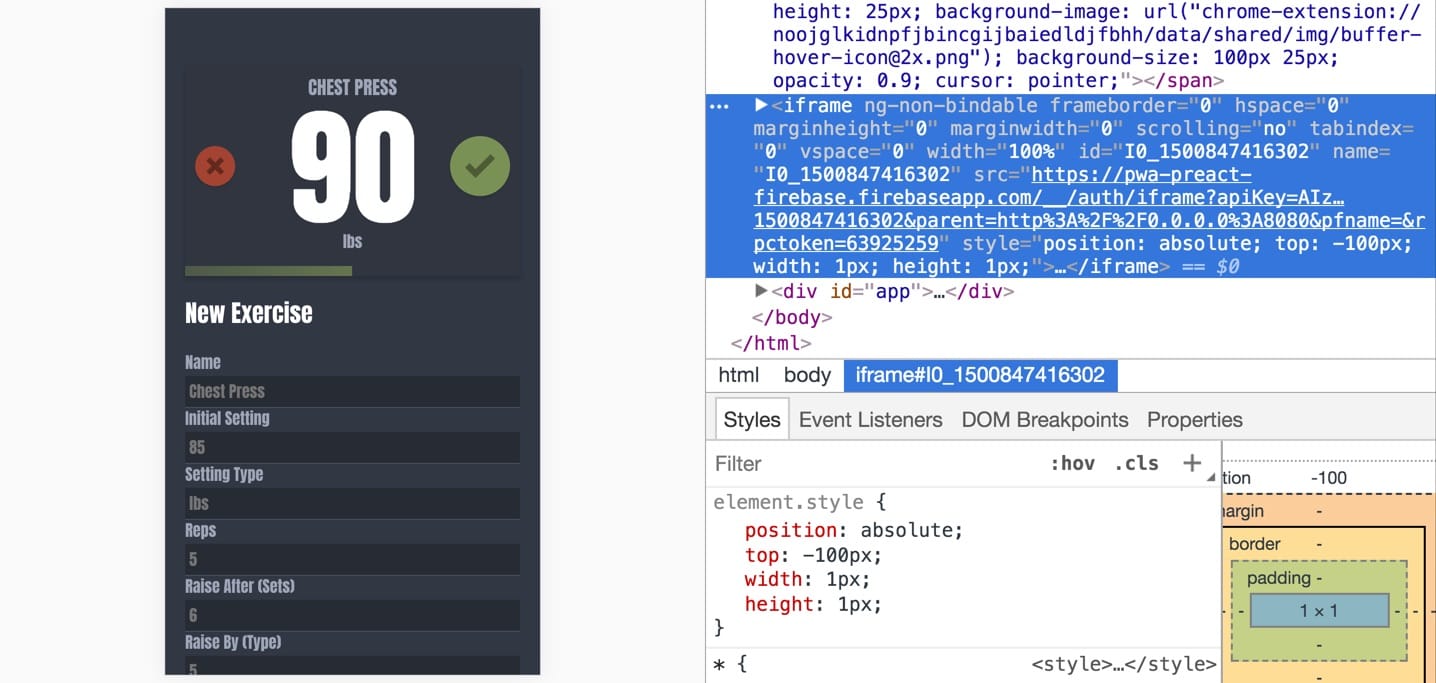
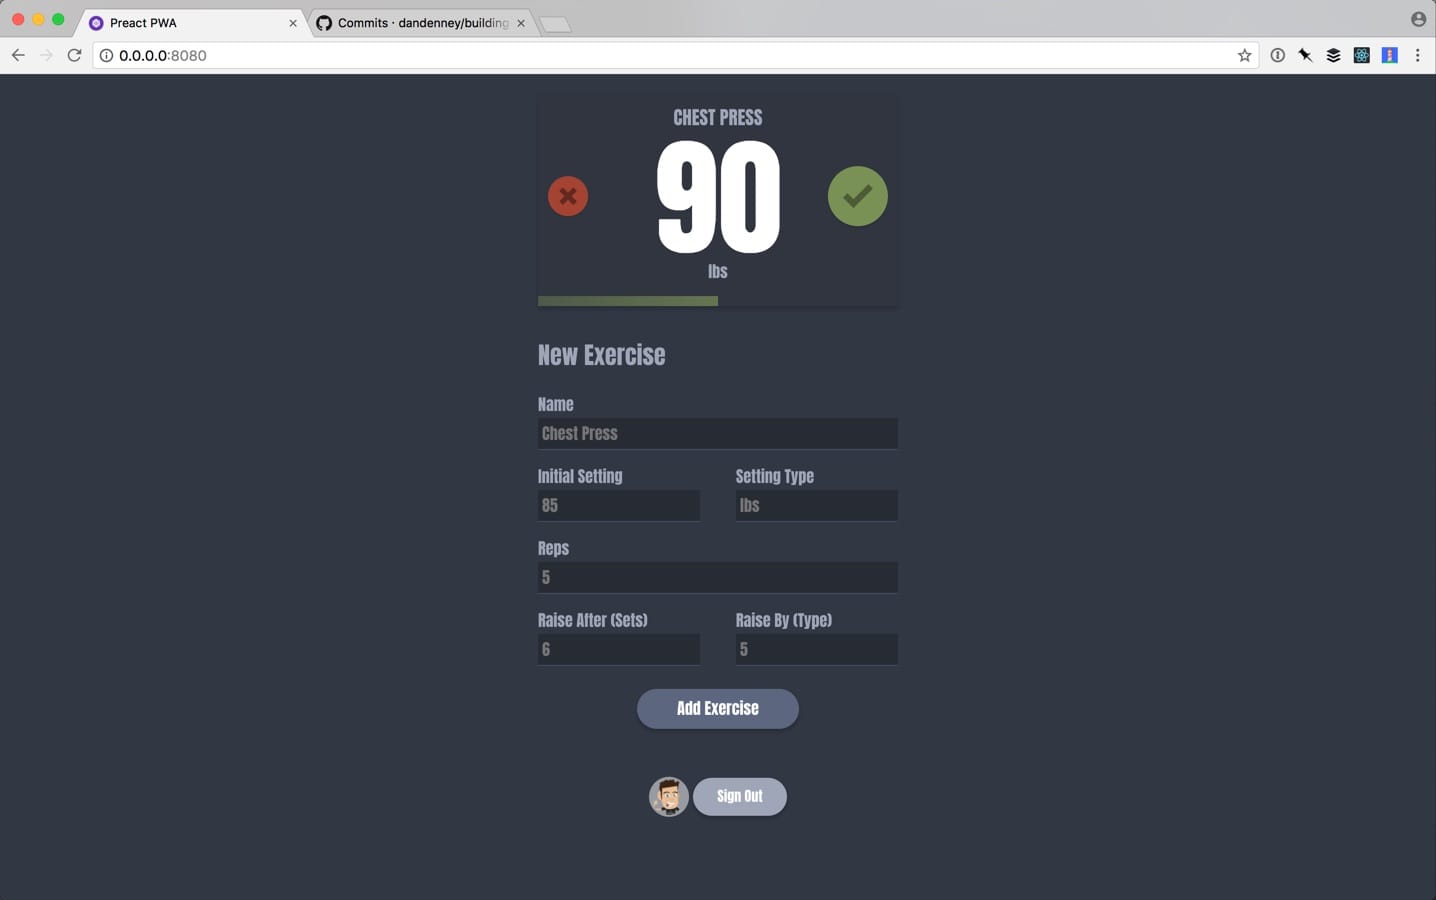
The individual exercise got the most work, and it felt a little weird to duplicate so many styles. I’m used to modifier classes, but it was also awesome to use basic names and have them get unique names automatically. commit
New Exercise Form
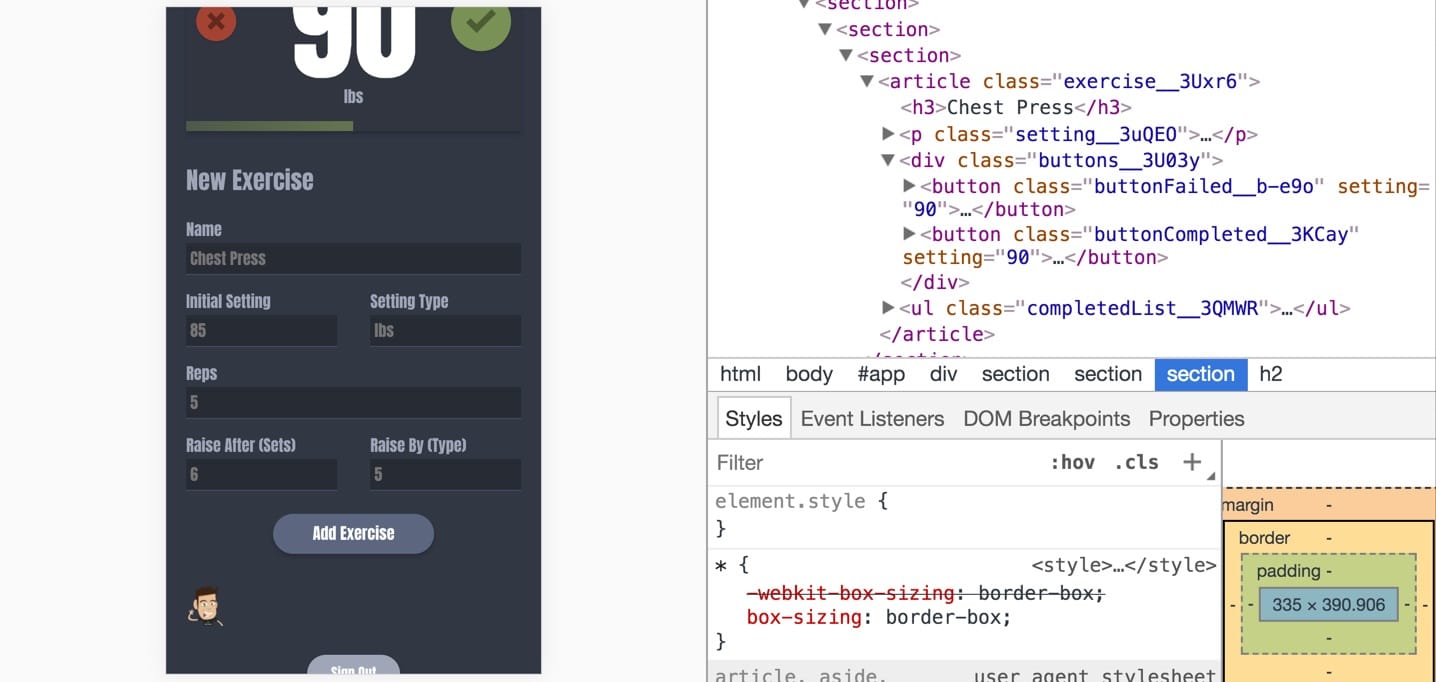
This form will have minimal use going forward, so I’ll likely tuck it away in a future version, but meanwhile, I wanted it to be a little more usable. commit
Current User
This part is just for sanity’s sake, so I just gave it a touch of alignment. commit
“Home”
The signed out experience needed some love, and I set a max-width in case I ever bring my laptop to the gym. (JK) commit
Cleaning Up Some SCSS
In my original version, I was designing in the browser, so the CSS was being written on the fly. In this, I went through and applied the variables just so that I know it can be done. commit
Save to Home Assets
This web app will be saved on my phone, and there are some settings and icons that can be displayed that make it feel native. I didn’t put much time into it but made the colors match and put an icon of some weights. I have some ideas for v2 that will make this more fun. commit
![]()
Deploying to Firebase
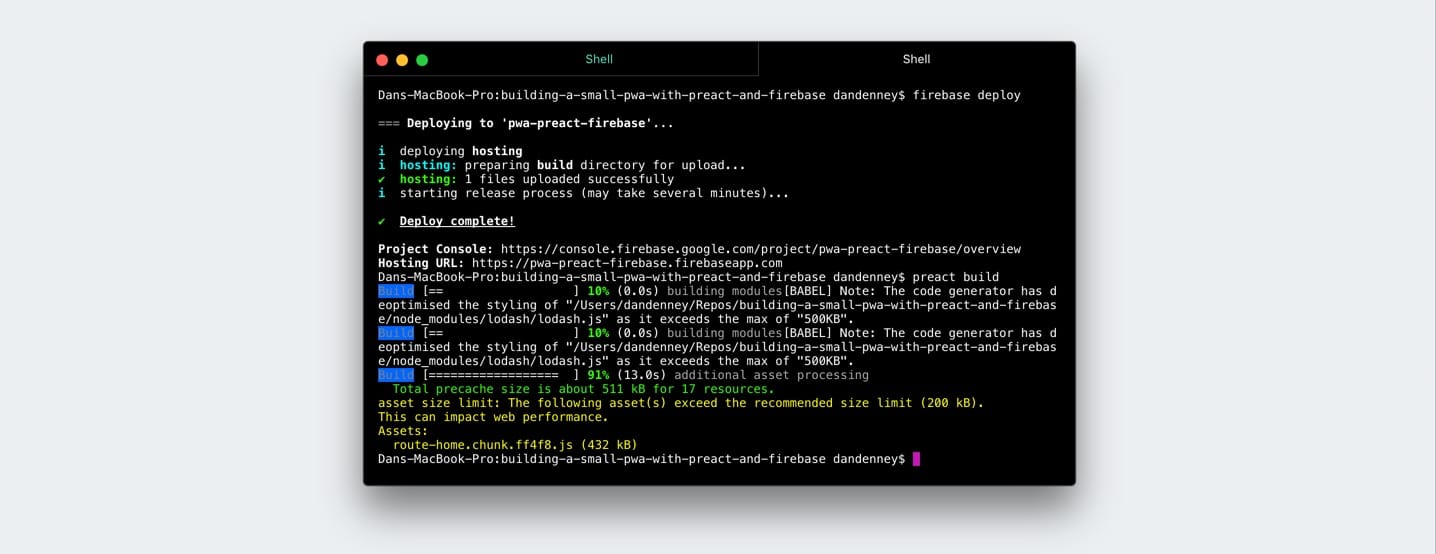
Firebase is perfect for side projects like this. In addition to all of the other features, hosting via HTTPS is part of the free plan. Their CLI makes it seamless, as well. Don’t be like me and get so excited about it that you forget to build your app with Preact and deploy nothing, which is what I did just now.
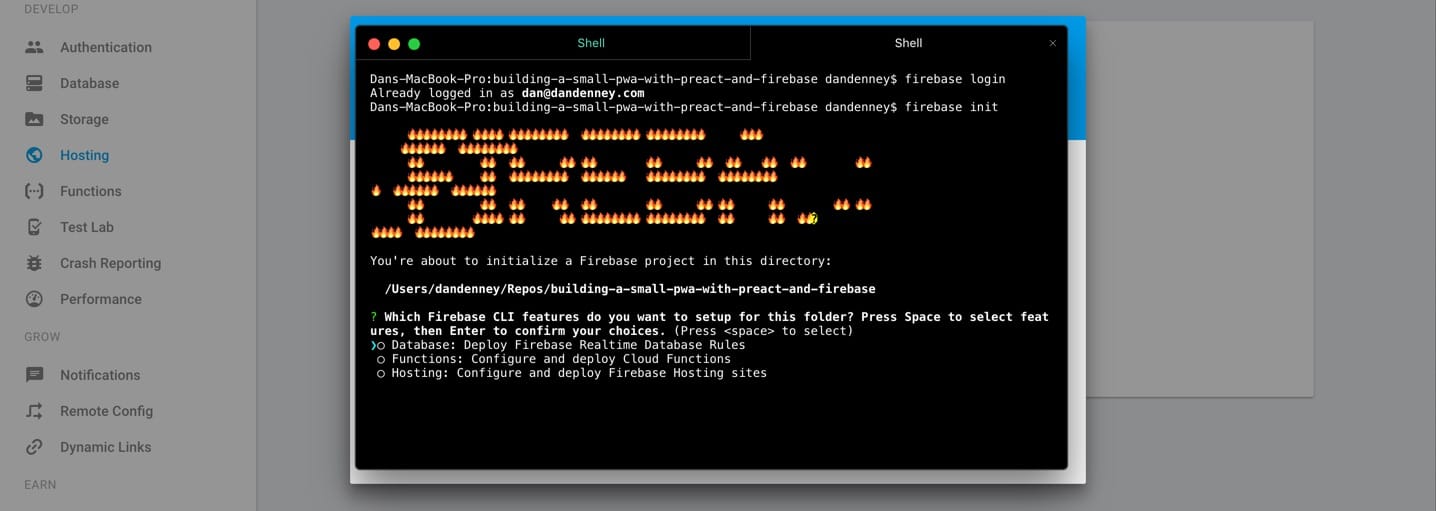
Ok, Build First, Then Deploy
After running a build with preact build I saw that I had done something (probably the combo of Firebase and lodash) that added a lot of weight to my app. That will have to wait for later.
Lighthouse Test
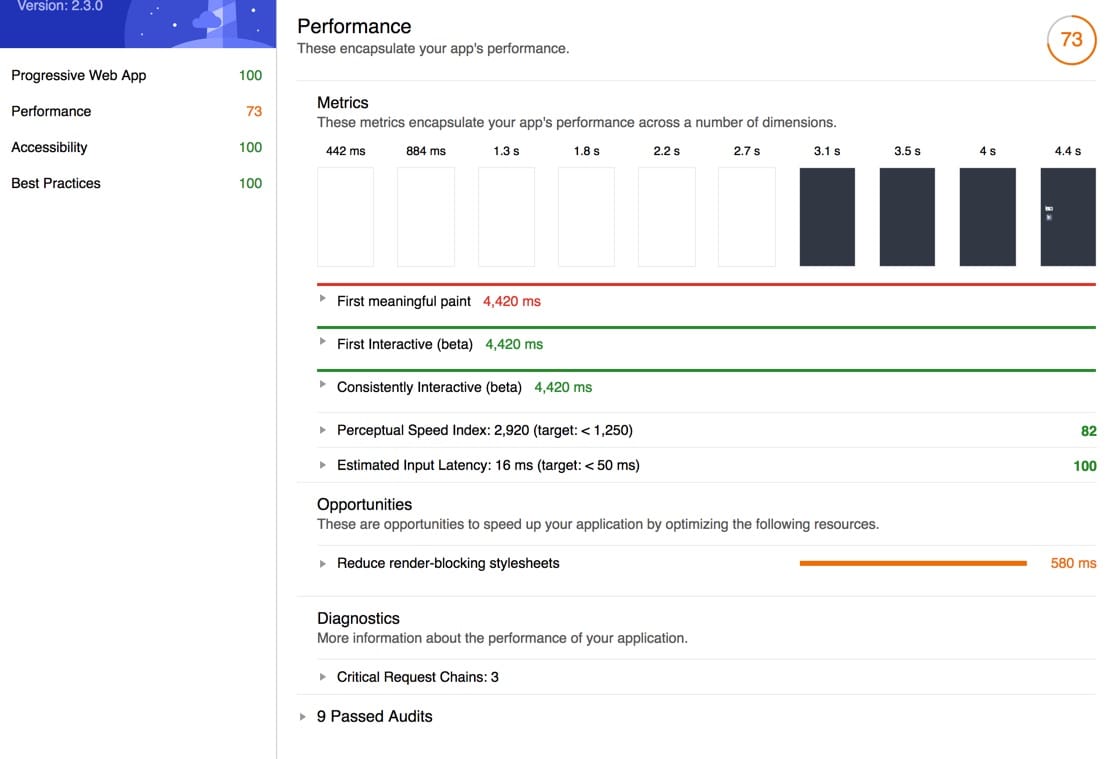
The results of this test are why the CLI was valuable. I didn’t have to do any of the service worker and manifest setup, so I have a smooth 100. If you haven’t done that stuff before, you should try it manually, though.

The performance dropped over 10 points from the default, and I’ll have to figure out what is causing that. It won’t matter to me for this app, but I want to learn how to troubleshoot it. My gut says it’s a combo of the font request, the Firebase data request, and lodash.
Make It Better
At this point, it is usable, but not an experience I’d ship to others. When you auth, there is some downtime as it transitions, which feels janky. Once it’s loaded, it’s good, though. Goals for v2 improvements:
- Fix the console errors when you are signed out
- Over 80 in Lighthouse perf score
- Loading animation with a smooth transition from sign in and on load
- Visual indicator for failures (they save with no feedback)
I also want to add some reporting because I’m all about that data, that data. It’d be overkill to do full graphs, but I want some sparklines that show when I struggle to advance a setting and counts of the total number of exercises done.
Thank You
If you made it this far, wow, thank you. When you’ve had a nice long rest, I’d love to know that you thought.

