Photoshop's Timeline Rocks
This is another of my anti-tutorials, where I share how I stumbled my way through something. It’s not necessarily how things should be done and I’d love any feedback from people that really know what they’re doing.
The new timeline for animating things in Photoshop really rocks, but it takes some getting used to and some Googling to figure out how to use it. Adjusting to new things is not always easy so I’m sharing this in my sarcastic tone that I use in my head to get through the day.
I needed a Jif for an email
As a front-end dev, I mostly use Photoshop for extracting things these days, except for when I need an animated GIF. The design team at Envy recently scored a Creative Cloud subscription and so I had my first experience trying to make a GIF with Photoshop CC. I needed one for an email to share our rad 2013 Year In Review page for Code School.
What is this?
This was the look on my face as I tried to open the animation panel. It was gone and I was scared and confused. A quick Google search and some helpful people let me know that it is now called the “timeline”. This was only the beginning of the confusion, though, as this is not the GIF maker you are looking for.
Bringing my Google search back up, I then decided to watch How to make a simple GIF Animation in CS6 and now I knew how to get rolling.
Super Tweening™
Super tweening™ is probably the biggest feature. No more are you creating multiple layer states and then choosing settings to tween between them. There are built-in, video timeline-like features that allow for smoothly animating position, opacity, and style. This is tricky to pull off at first, but it’s probably intuitive if you were raised on video timelines.
The gist is that you set everything as you want it to begin and then drag the scrubbing line to where you would like a new state (position, opacity, style) to be complete. Once you have dragged the scrubber, you then change the values for the state. PS automatically creates the frames necessary for a smooth transition.
Less Sharing, More Action
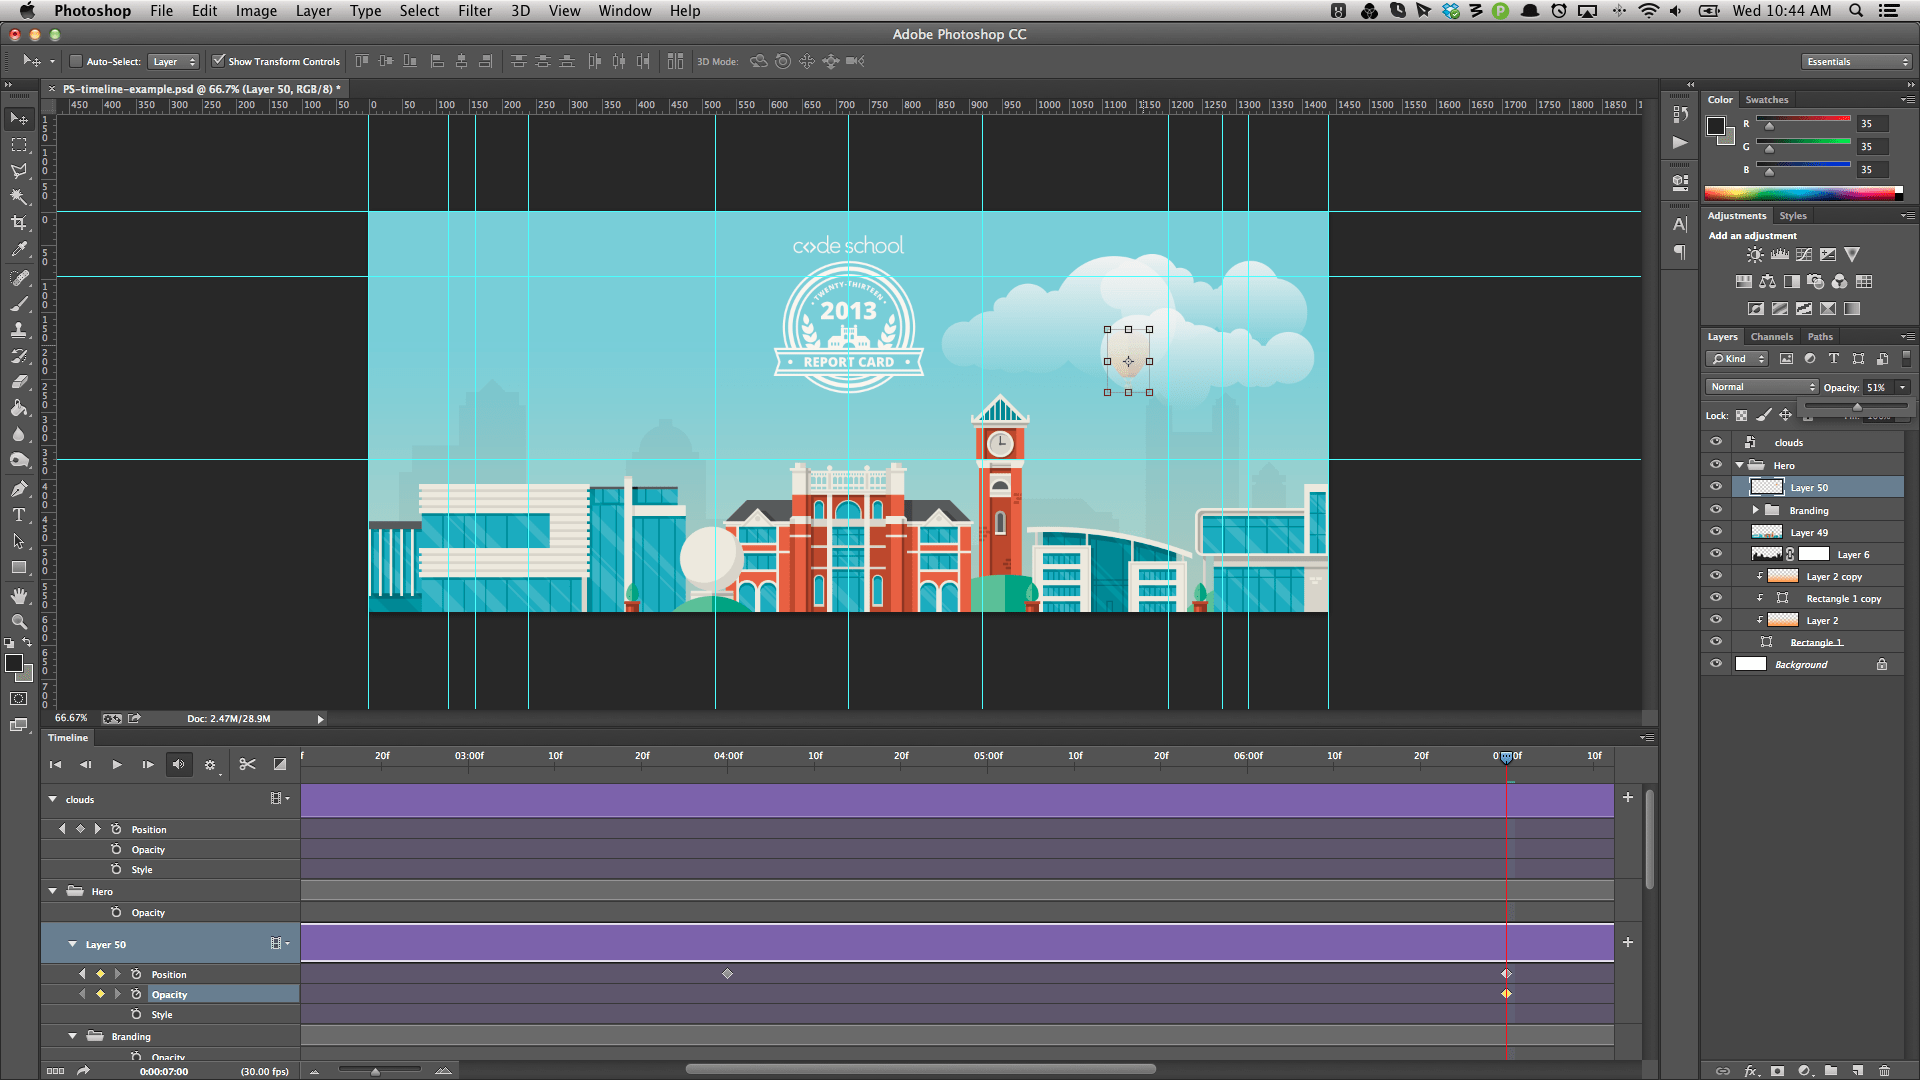
I got permission from Justin to share the PSD that I used to make the image for the email but I’m using something slightly different for this post because I wanted to show off the position and opacity.
First Frustrating Things First
Timelines default to 5 seconds and you will likely want to change that. Making the timeline shorter is super intuitive: you just drag the draggable-looking item to the left and you now have a shorter timeline. If you want to make it longer, you would drag it to the right, right? Unfortunately not. I’m hoping I get corrected by someone with experience here but checking “help”, Googling, and having a little “please save me” session with Justin led me to believe that the only way to extend the timeline is to individually extend the available time for each item, like so:
Note: that was not an inception GIF, I used LICEcap which is awesome for screener GIFs (but not very purdy).
It’s All Totally Worth The Result
Once you get past these initial hurdles and you save out your first GIF, it all becomes worth it. The level of control and the smooth animations are wonderful and you can do some really rad stuff.
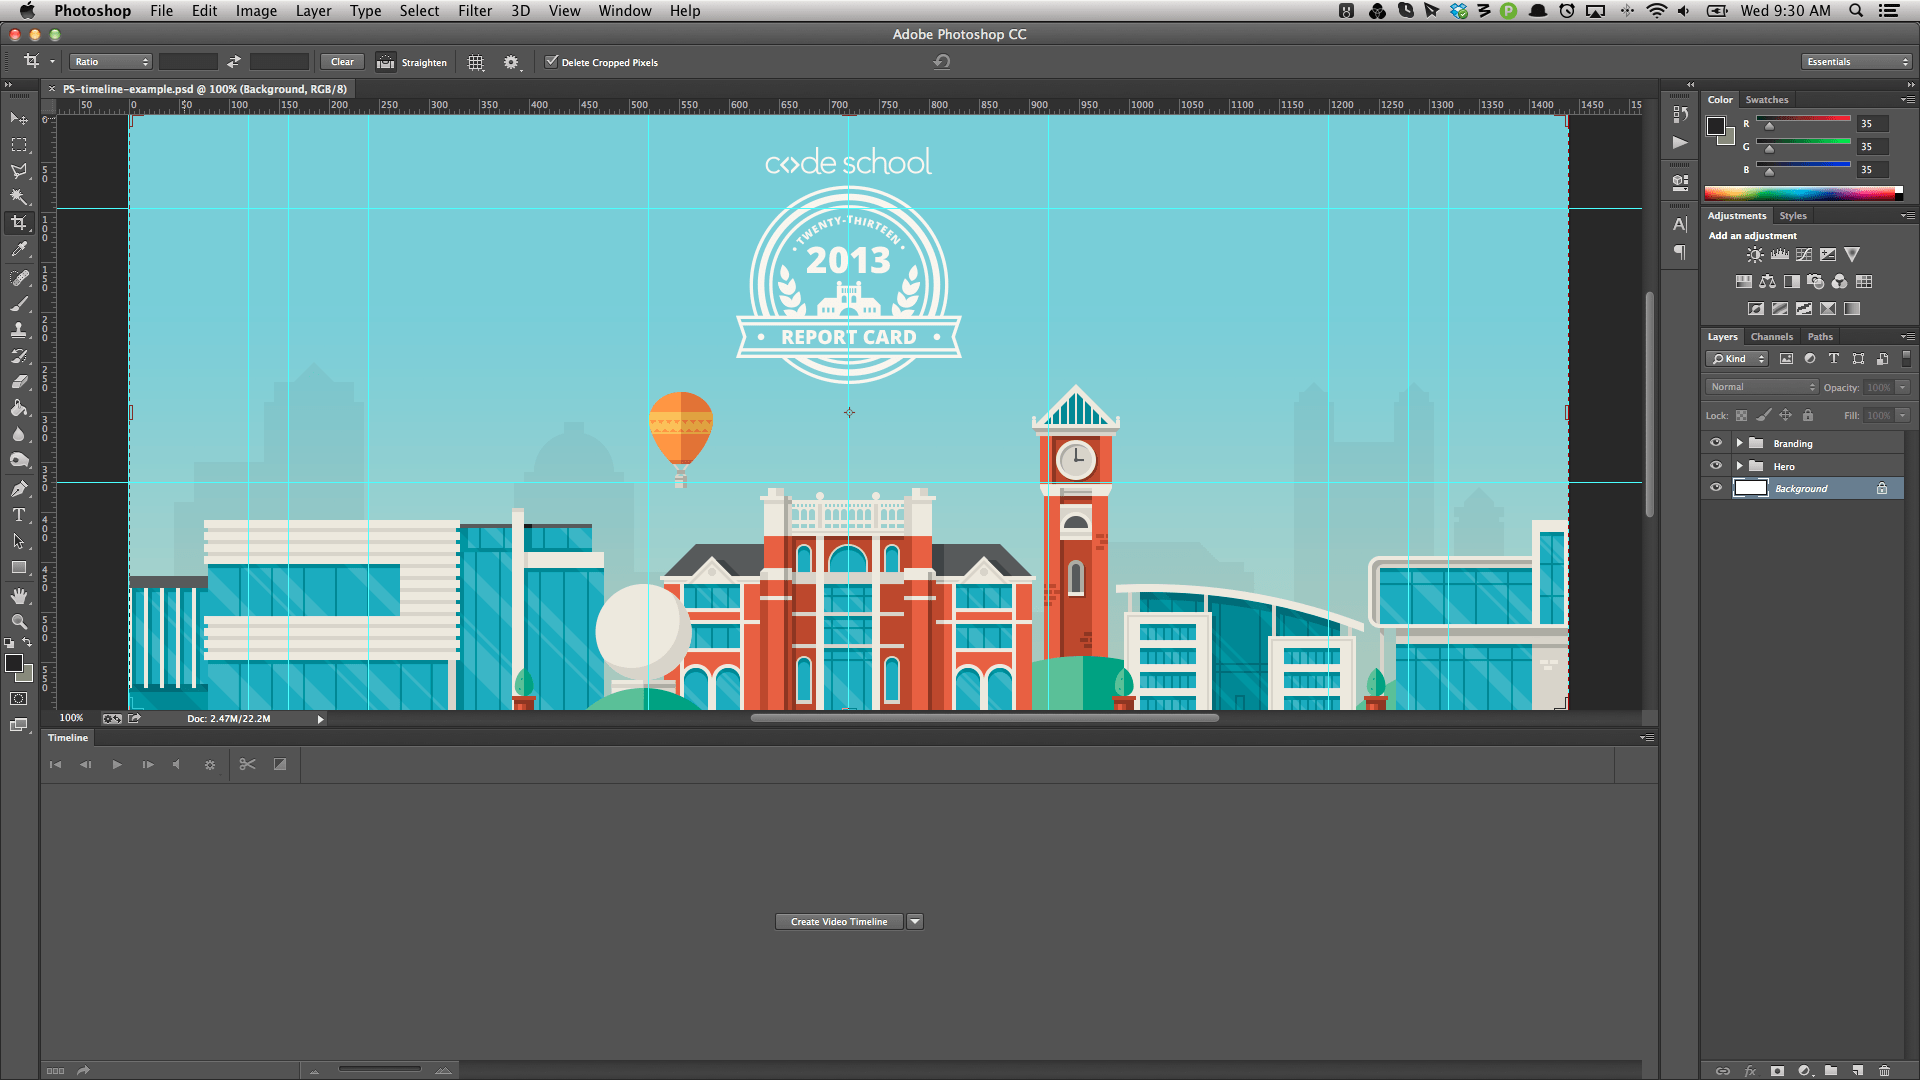
Planning Balloons and Clouds and Skylines (oh my)
To show off the position and opacity coolness, I decided to have the balloon launch and make it’s way through a cloud (changing the opacity of the balloon when it’s behind the cloud.) The initial state is below. It took 3 position states and 2 opacity states on the balloon, 2 position states for the clouds (for a subtle movement).
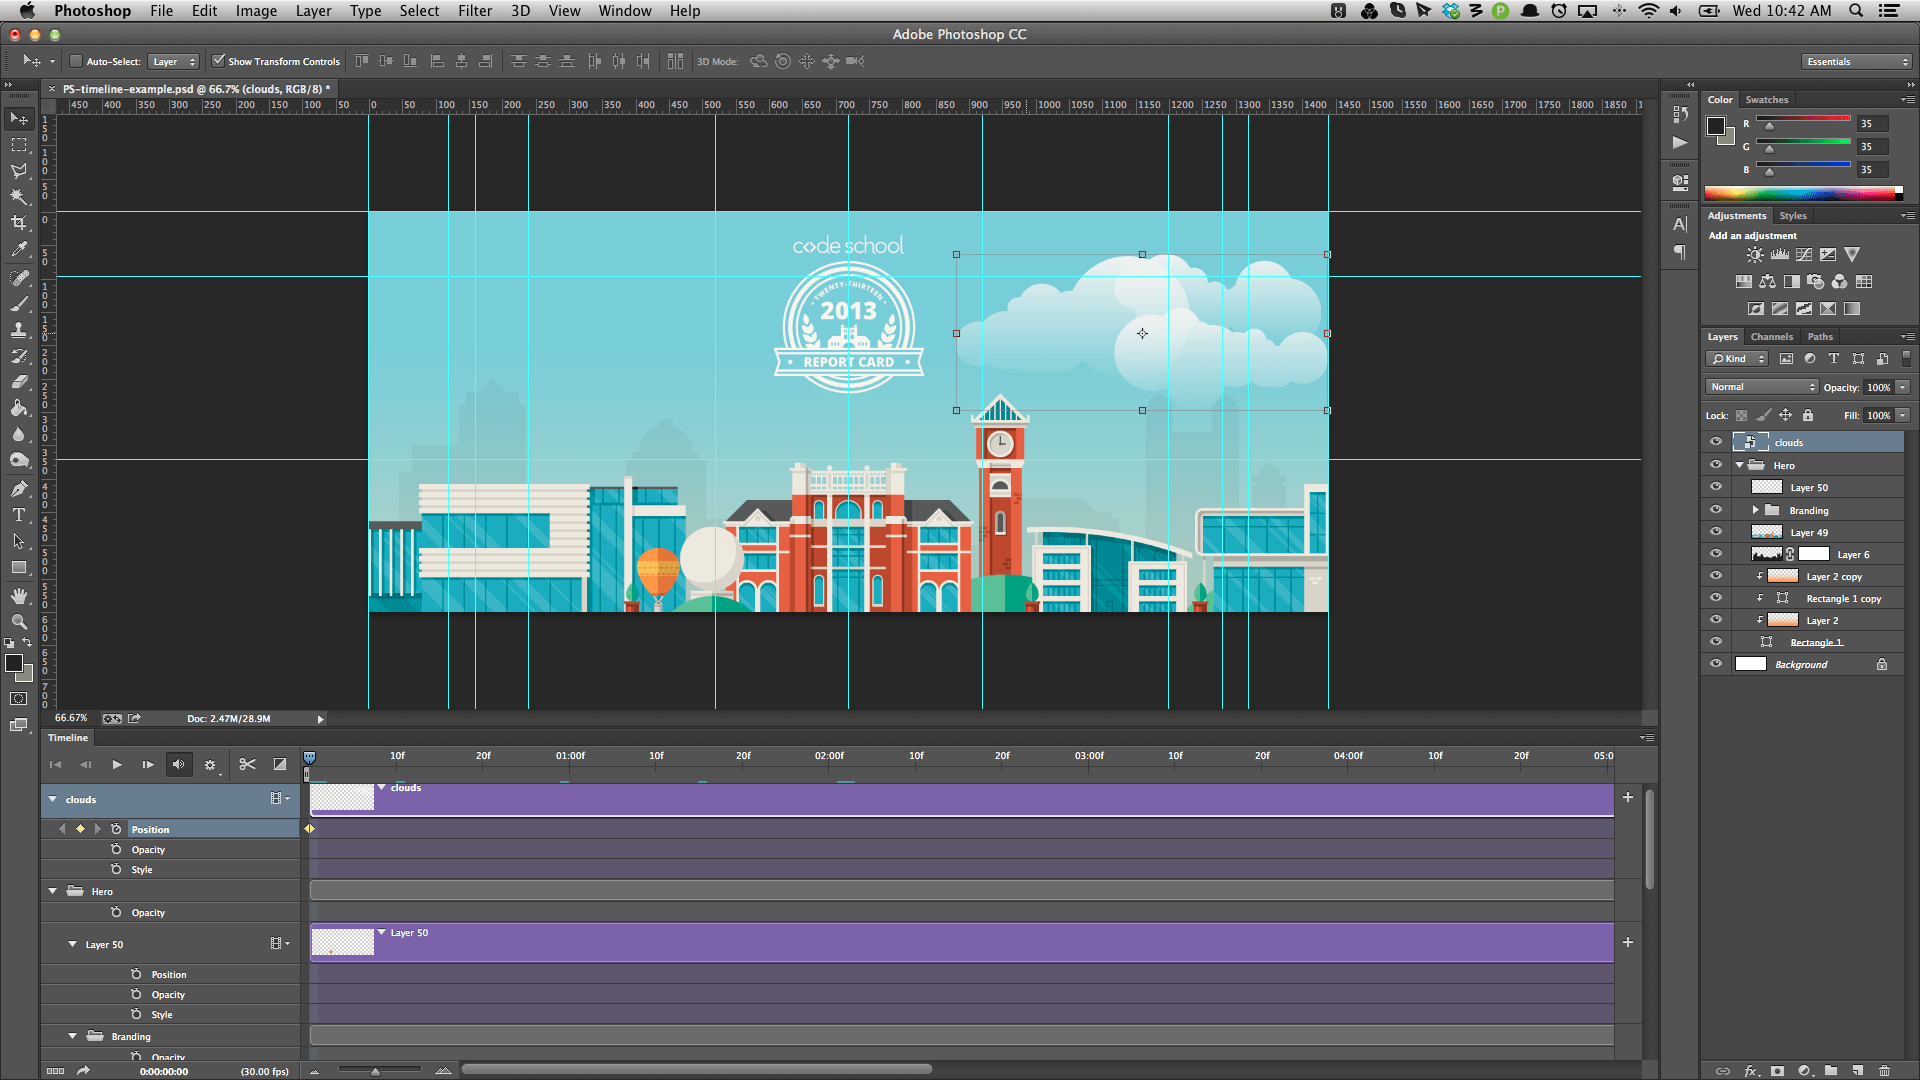
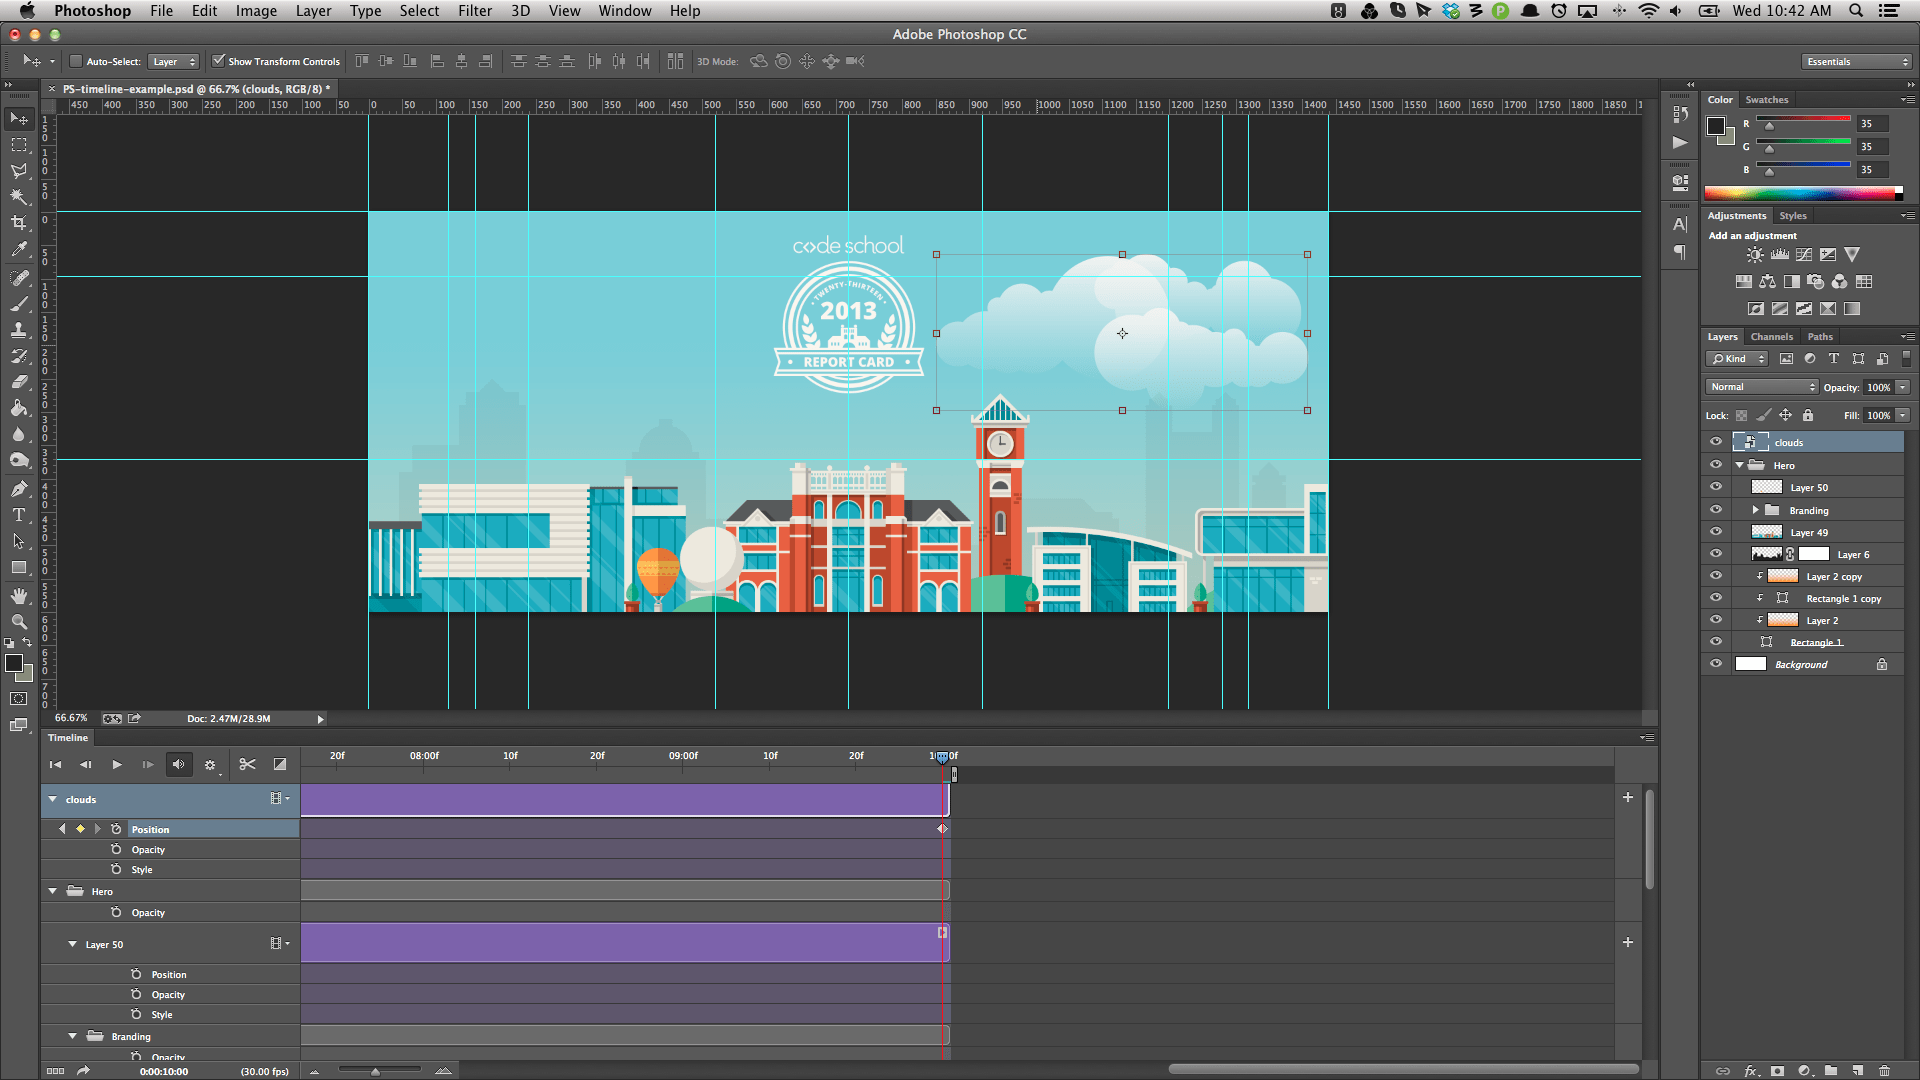
The clouds needed to be done first, so that I could know when the balloon will hit it. I set the zero state for the position first. To make them move just a little bit, I dragged the scrubber to the end, clicked position to add a position, and then dragged the clouds to their new location.
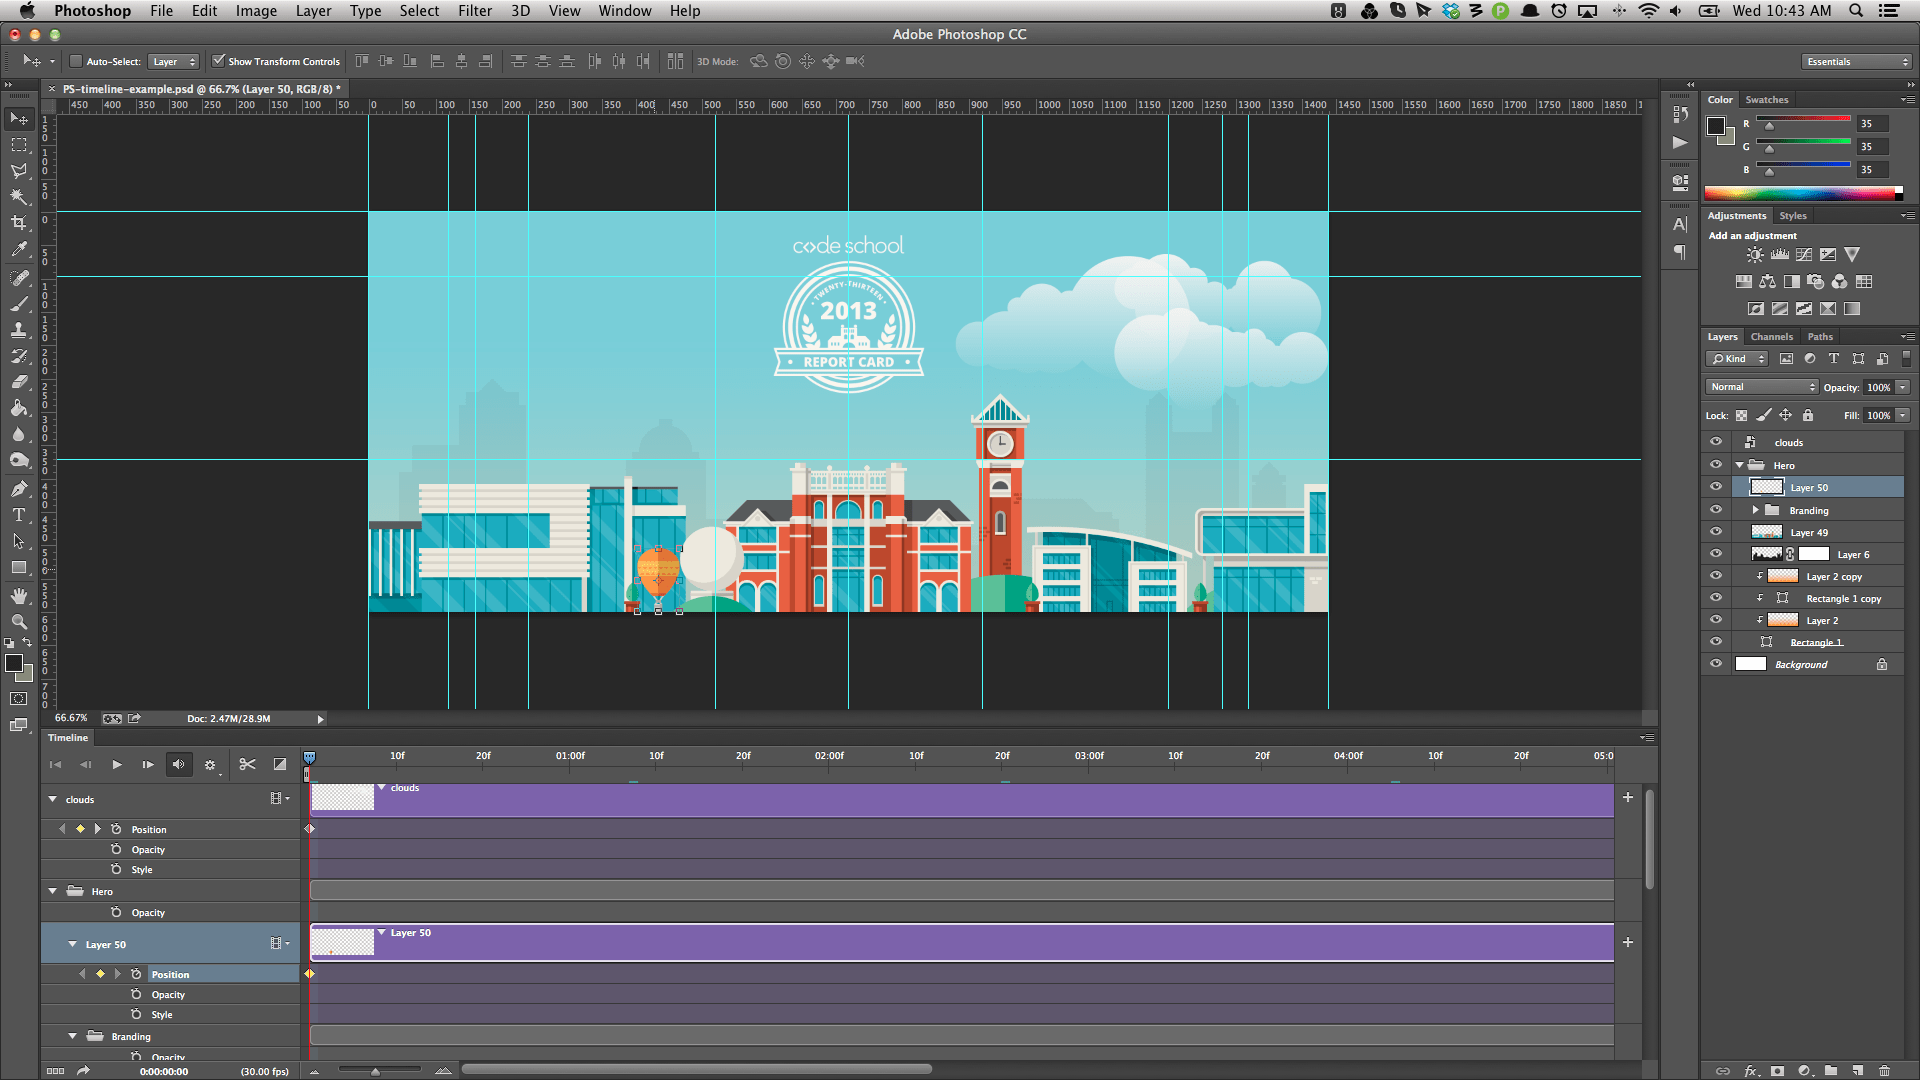
Bringing the scrubber back to 0, I created a base position state for the balloon.
At 4 seconds, I wans to set a second position state for the balloon.
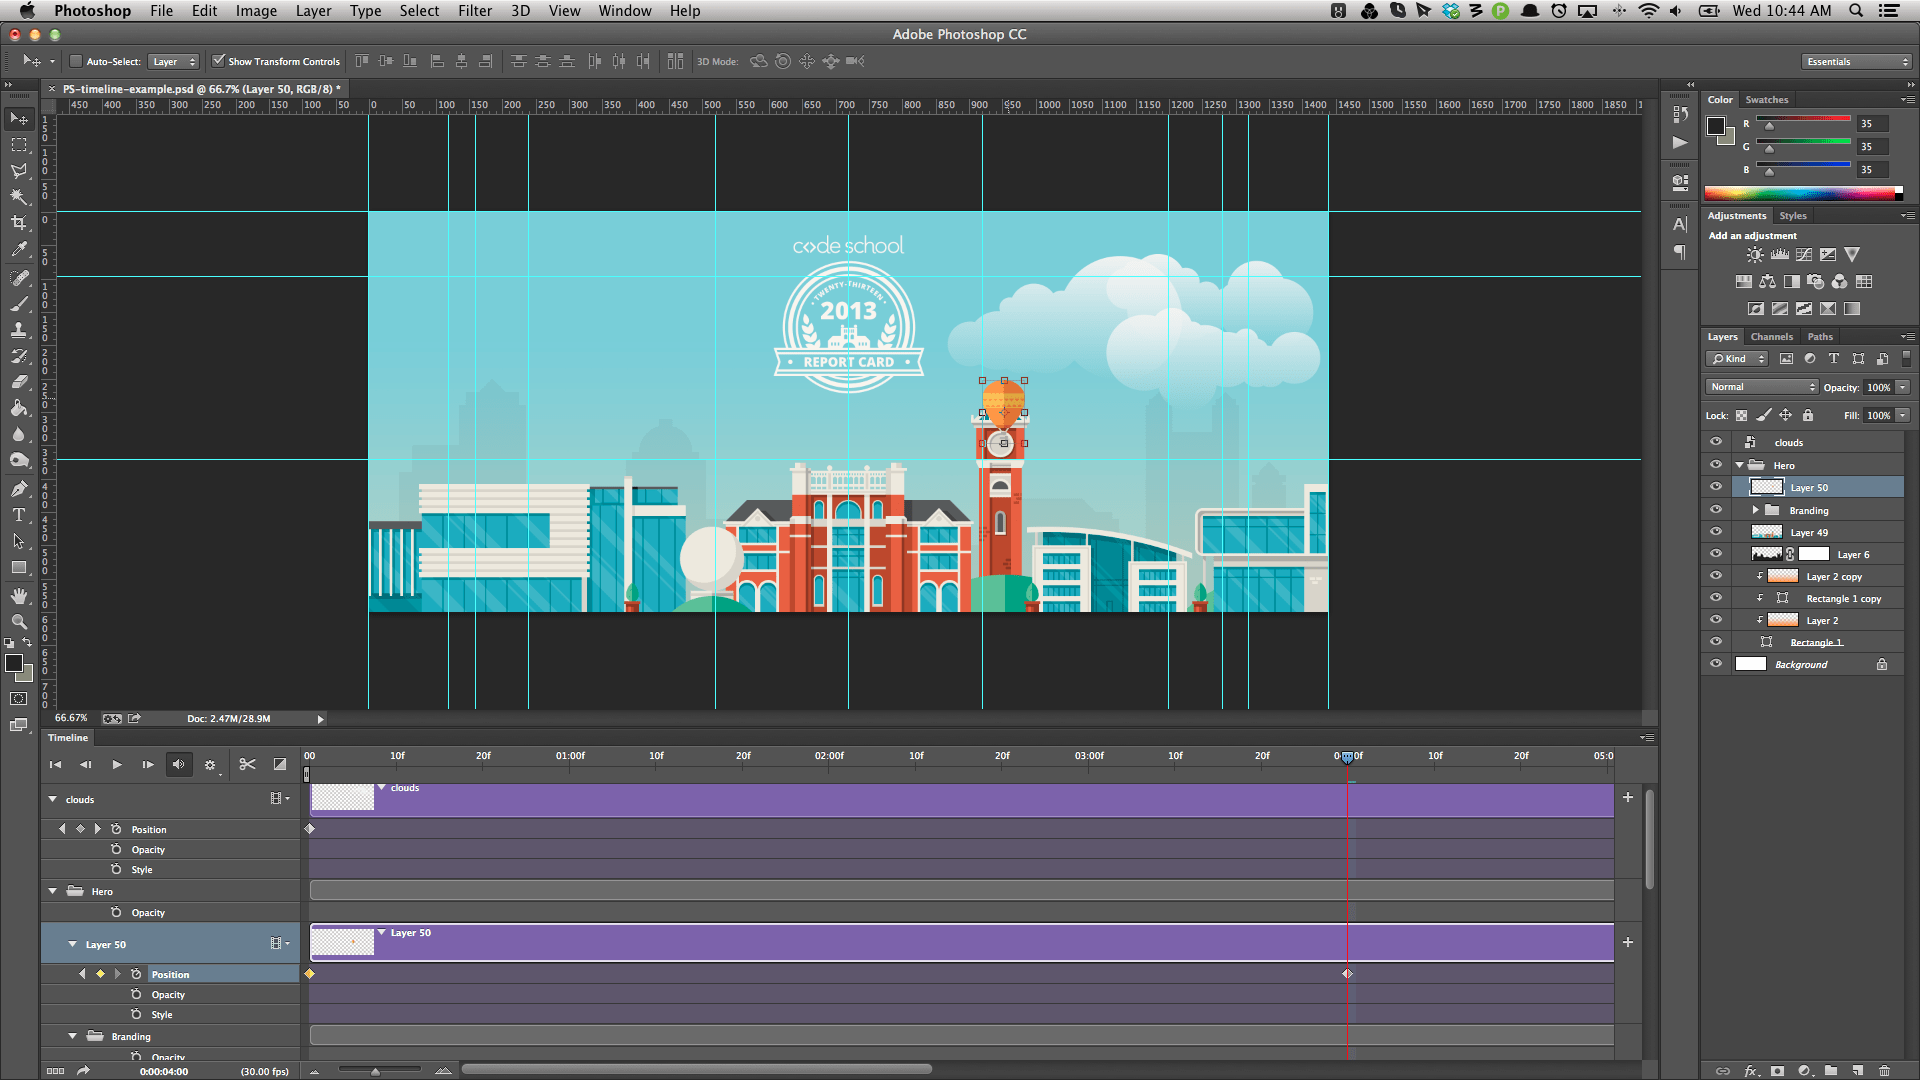
At 7 seconds, I moved the balloon under the clouds and created a 50% opacity state. Since I didn’t think to set it at first, I also needed to go back and set base opacity states to 100% as well.
At the end of the timeline, I wanted to have the balloon go out of the image and increase to full opacity along the way. You can preview it in the app, which takes a couple of times to render at regular speed. I used that to make sure that it seemed ok, but the final decision happens after save it out and look in Chrome.

Getting GIFfy With It
Boom! We have ourselves one monstrously-sized GIF! This one is a bit egregious for the example, but I thought it’d be fun. If you want to play with it, I have the PSD on Dropbox. The one I used only repeated once but I have this one looping just so you can see it in action.
Dive into the timeline and when you make something cool, I’d love to see it. Drop it in the comments or just @dandenney on the Twitters.
Thank you to Justin for the assets and to Chris Coyier for the kick in the pants to share. When Chris says “blogggg”, you blog.